Set It Right the First Time: A Complete Guide to Using Quikrete Concrete Mix for Posts, Footings, and Repairs
What the 60 lb bag actually gives you, how to calculate coverage, step-by-step mixing and pouring instructions, and what Ohio homeowners need to know about working with concrete
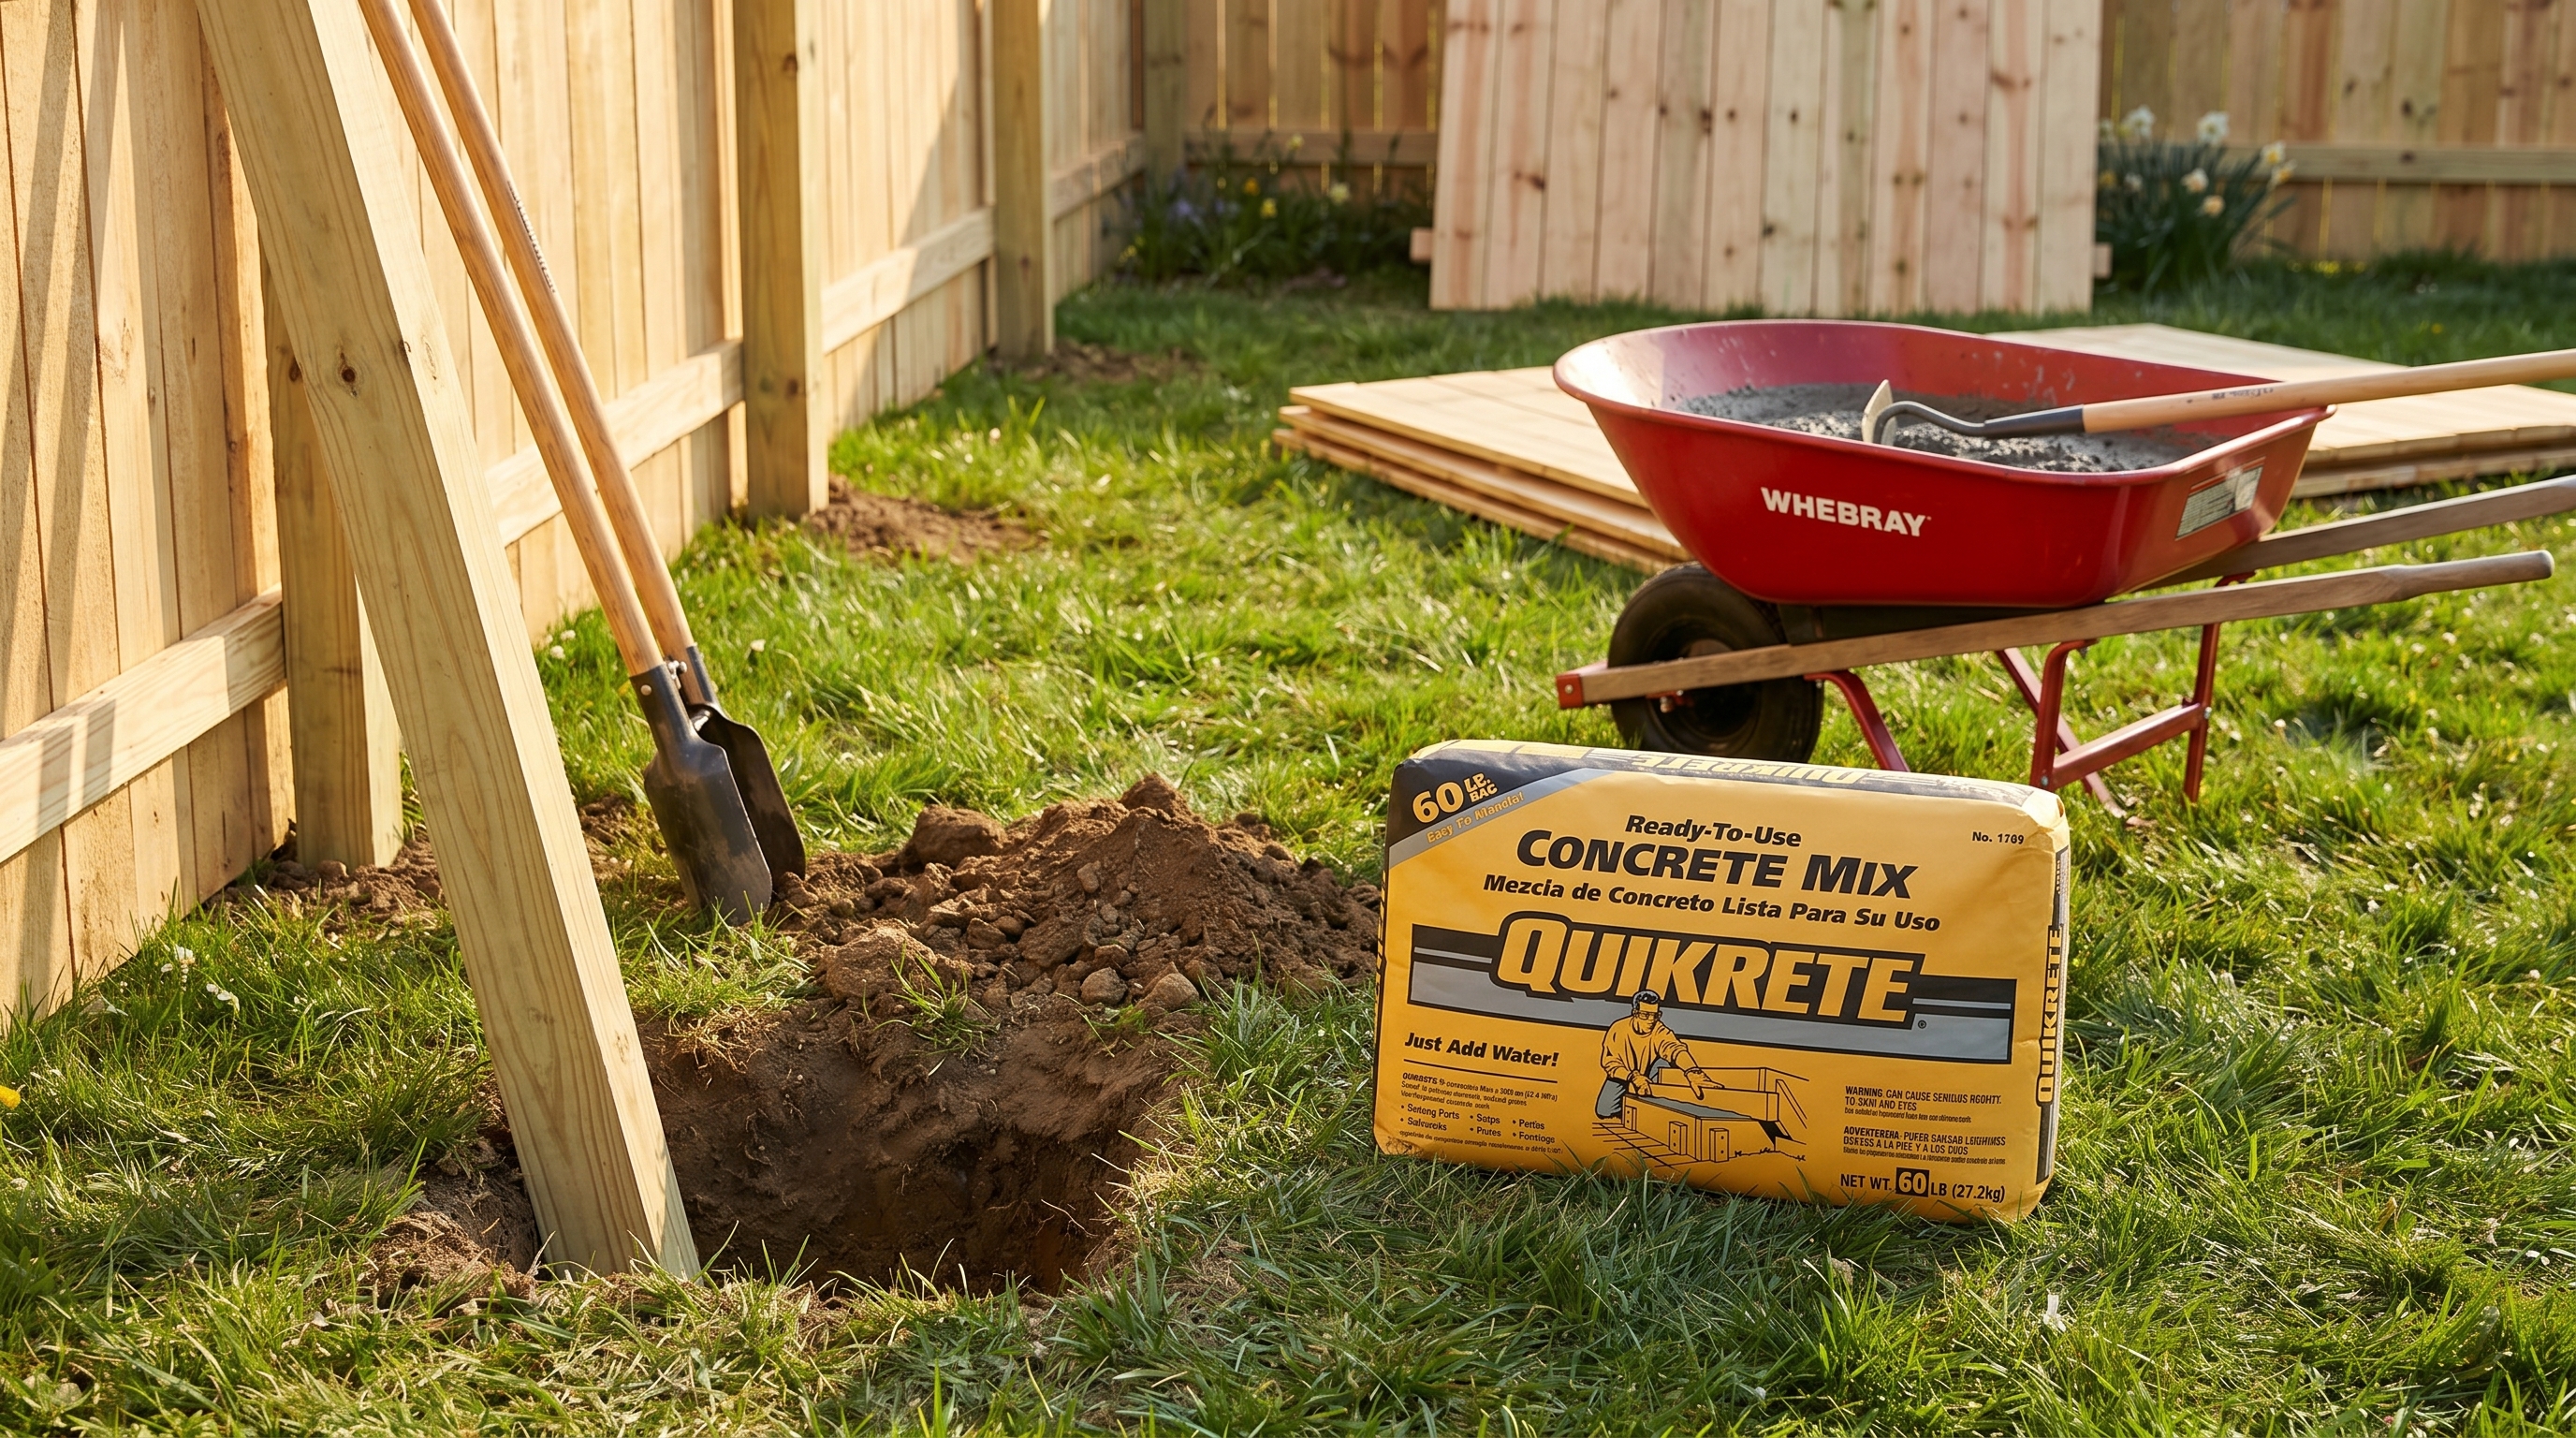
Most home improvement projects have a "just good enough" threshold — a point at which the job is done and it holds. Concrete is not one of those. A fence post set in soft or improperly mixed concrete heaves, rots, or leans within a few years. A footing poured at the wrong consistency can crack under load. A sidewalk patch that wasn't properly bonded spalls off in the first freeze-thaw cycle. Concrete done right is structural; concrete done carelessly is a project you'll be redoing. Quikrete Concrete Mix (60 lb) is the most widely used pre-blended concrete in the United States — and the reason it's so prevalent is that it removes the guesswork from the most failure-prone part of the process: getting the ingredient ratios right. The cement, sand, and gravel are already combined in the correct proportions. You add water, mix, and pour. It's available at Liberty Farm, Home & Garden in Galion, Ohio, and it covers the full range of residential and light commercial concrete work — from setting mailbox posts to pouring garage floor patches to building small footings.
What's in the Bag: Understanding Pre-Mixed Concrete
Concrete is a composite material with three primary components: portland cement, aggregate (sand and gravel), and water. Each plays a distinct role:
- Portland cement is the binding agent. When mixed with water, it undergoes a chemical reaction called hydration that hardens the mixture into a stone-like solid. Cement doesn't dry — it cures. That distinction matters, because the strength of the final product depends on maintaining adequate moisture during the curing process, not on how fast the water evaporates.
- Fine aggregate (sand) fills the spaces between coarse aggregate particles and contributes to workability. Sand content affects how smooth the finished surface is and how well the mix flows into forms or around posts.
- Coarse aggregate (gravel) gives concrete its compressive strength. The size of the gravel in a standard concrete mix like Quikrete is calibrated for general-purpose use — small enough to flow into a post hole or form, large enough to contribute structural integrity.
When you buy raw materials and mix your own concrete, you have to get these ratios right. Too much sand and the mix becomes weak and prone to cracking. Too much water and the concrete loses strength significantly — each extra pound of water per bag degrades the final PSI rating noticeably. Too little water and the mix doesn't hydrate completely, leaving voids and reducing long-term durability.
Quikrete Concrete Mix comes pre-proportioned to a formula that delivers approximately 4,000 PSI compressive strength when mixed properly — sufficient for fence posts, footings, steps, sidewalks, and most residential structural applications. The only variable you control is the water, and the bag provides a target range to keep you within the strength curve.
What 60 Pounds Actually Gets You: Coverage and Yield
Each 60 lb bag of Quikrete Concrete Mix yields approximately 0.45 cubic feet of mixed concrete. That number doesn't mean much on its own — what matters is how it translates into real-world project quantities. Here's a quick reference:
- Fence or deck post holes: A standard post hole for a 4x4 fence post is typically 10 inches in diameter and 24 to 30 inches deep. At those dimensions, you'll use roughly 1 to 2 bags per post depending on hole diameter and depth. A longer run of 8-foot fence sections with posts at each end typically requires planning for 1 to 2 bags per post hole to be safe.
- Mailbox post: A typical mailbox post hole is 8 to 10 inches in diameter and 18 to 24 inches deep — usually 1 bag per post.
- Footing for a small structure: A 12-inch round footing that's 12 inches deep uses about 1.5 bags. An 18-inch square footing at the same depth requires 3 to 4 bags. Calculate your volume in cubic feet (length × width × depth, all in feet) and divide by 0.45 to get your bag count — then add 10% for waste and spillage.
- Sidewalk patch or step repair: A surface patch 12 inches by 12 inches by 2 inches deep uses less than a quarter of a bag. Quikrete is well-suited to small repairs — partial bags store well if kept sealed and dry.
For most fence and post work — which is the most common residential use — the rule of thumb is to buy more than you think you need. Running short mid-pour is far more disruptive than having an extra bag on hand. Unopened, dry-stored bags remain usable for an extended period.
Step-by-Step: Mixing and Pouring Quikrete Correctly
Mixing concrete is not complicated, but the sequence and technique matter. Here's the correct process for hand-mixing a 60 lb bag:
- Gather your tools before you start. You'll need a mixing container (a wheelbarrow or mortar tub works well), a mixing hoe or a margin trowel, a measuring container for water, gloves, safety glasses, and a dust mask. Portland cement is caustic — it can irritate eyes, skin, and lungs with prolonged exposure. Wear your PPE from the moment you open the bag.
- Add the correct amount of water first. For a 60 lb bag, the target is approximately 3 pints (1.5 quarts or about 0.4 gallons) of clean water. Pour water into your mixing container before adding the dry mix — this helps prevent dry pockets at the bottom that don't fully hydrate.
- Add the dry mix gradually. Empty the bag into the water and begin mixing immediately. Don't dump the entire bag at once — add it in thirds, mixing between additions. Work the mix from the bottom of the container up and over, folding rather than stirring.
- Check consistency and adjust. After 3 to 5 minutes of thorough mixing, the concrete should hold its shape when pressed and show no dry pockets. If it's too stiff, add small amounts of water — no more than a few tablespoons at a time — and mix thoroughly before evaluating again. Do not add water if the mix is already workable; a stiff mix is usually correct.
- Work quickly. Once mixed, you have a working time of roughly 15 to 30 minutes before the concrete begins to set. Don't mix more than you can place and finish within that window. For large projects, mix in batches.
- Place, consolidate, and finish. Pour or shovel the mixed concrete into your form or hole. For post holes, use a stick or rod to eliminate air voids along the sides and bottom — voids create weak spots and can trap water. For flat pours, tamp down and screed the surface level.
- Cure, don't just dry. Keep the pour moist for at least 24 to 48 hours after placement. Cover with plastic sheeting or damp burlap if conditions are dry or windy. Concrete reaches functional strength at 24 to 48 hours for post-setting but continues to cure and harden over 28 days — avoid heavy loading during this period.
Setting Posts the Right Way: Fence Posts, Deck Posts, and Mailboxes
Post-setting is the most common residential use of bagged concrete — and the one where proper technique has the biggest long-term payoff. A post set incorrectly is a maintenance problem for the life of your fence or deck.
A few key principles for post work:
- Depth matters more than diameter. Post holes should be below the frost line to prevent heaving. In central Ohio, the frost depth is typically 32 to 36 inches. For fence posts, the general rule is to bury one-third to one-half of the total post length. An 8-foot fence post should be in the ground 2.5 to 3 feet minimum. Shallower posts heave. Period.
- Slope the concrete crown. When the concrete surface is flush with the surrounding grade, water pools at the post base. Instead, mound the concrete slightly at the post and slope it away so water drains away from the wood. This is the single most effective way to extend the life of a wood post set in concrete.
- Brace before the concrete sets. Posts need to be plumb before the concrete hardens. Use temporary 2x4 braces nailed to the post and staked to the ground to hold plumb in two directions. Check with a level before and after pouring. Once the concrete begins to set, adjustments are impossible without starting over.
- Consider the dry-pour method for fence posts. For fence posts specifically, Quikrete can be poured dry into the hole around the post and then water added from above to percolate through. This method works for non-structural fence posts and is faster than hand-mixing — but it requires a minimum of 30 minutes of curing before load is applied and works best in moist soil that contributes moisture to the hydration process. It is not appropriate for deck posts or any structural application.
Footings: When and How to Use Quikrete for Structural Concrete
Footings transfer load from a structure into the ground. A shed, a deck, a pergola, a gate post — each needs a footing sized to the load it will carry and placed below frost depth. Quikrete Concrete Mix at 4,000 PSI is appropriate for residential footings in most applications.
Key footing principles:
- Contact your county building office before starting. Many Ohio counties require a permit and inspection for footings that support structures — including decks, pergolas, and outbuildings. The permit ensures the footing depth, size, and concrete strength are documented. This protects you at resale and prevents teardown orders for unpermitted work.
- Use tube forms for round footings. Cardboard tube forms (available at most hardware stores) hold the concrete in shape during the pour and above-grade cure period. For below-grade footings in stable soil, the soil itself can act as the form — but tube forms prevent soil intrusion and give cleaner edges.
- Embed anchor hardware while concrete is wet. J-bolts, post bases, and anchor plates need to be set before the concrete hardens. Position hardware accurately before pouring, double-check alignment against your layout strings, and embed hardware with the concrete still workable. Once set, hardware cannot be repositioned.
Working with Concrete in Ohio's Climate
Ohio's climate presents specific challenges for concrete work — cold winters, hot humid summers, and a spring/fall transition zone where temperatures can swing 30 degrees between morning and afternoon. Each season creates different conditions for concrete placement:
- Spring (April–May): Generally the best working window. Moderate temperatures support proper hydration and curing without the risk of freezing. The main challenge is wet soil from snowmelt and spring rain — water-saturated post holes can dilute your concrete. If the hole fills with water before you pour, bail it out and allow it to drain as much as possible before filling. Some standing water in a deep post hole is usually acceptable, but concrete poured into a flooded hole loses significant strength.
- Summer (June–August): Heat accelerates setting time — your working window can shrink from 30 minutes to 15 minutes on a 90°F day. Mix in smaller batches, work in shade when possible, and use cool water. Cure aggressively — hot, dry conditions pull moisture from the surface faster than hydration chemistry can use it. Keep pours wet for at least 48 hours in summer conditions.
- Fall (September–October): Good working window as long as overnight temperatures stay above 40°F. Concrete should not be placed when air temperatures are below 40°F and falling — protecting a fresh pour from freezing before it achieves initial set requires blankets or other insulation.
- Winter: Avoid concrete work below 40°F without cold-weather protection. Frozen concrete does not hydrate properly and may appear to set but will be significantly weaker than normal. If you must work in cold weather, use warm (not hot) water, keep materials from freezing before mixing, and insulate the pour immediately after placement.
Concrete vs. Mixing From Scratch: When the Bag Wins
There's a valid question about whether to buy bagged concrete mix or purchase cement, sand, and gravel separately and blend your own. The answer depends almost entirely on project scale:
- Under 1 cubic yard: Bagged mix wins. The proportioning is done for you, you buy only what you need, and there's no setup cost for a mixer. One cubic yard requires roughly 45 sixty-pound bags — a significant number, but still within the range where bagged mix is more economical than ordering ready-mix.
- Over 1–2 cubic yards: Ready-mix delivery becomes more cost-effective and less labor-intensive. A ready-mix truck delivers concrete already mixed to your pour site — but it requires scheduling, minimum order quantities, and a pour timeline you have to meet when the truck arrives. Most residential post-and-footing work never reaches this scale.
- Mixing from raw materials: Only makes sense at large hobbyist or agricultural scale where you have a continuous supply of bulk aggregate and a volumetric mixer. For anything under a few cubic yards, the proportioning headache is not worth the modest material cost difference.
For the typical Liberty Farm, Home & Garden customer — setting fence posts along a pasture, installing a new gate, building a shed pad, or replacing cracked steps — Quikrete Concrete Mix (60 lb) is the practical choice on almost every project.
Curing vs. Drying: The Most Important Concept in Concrete Work
The most misunderstood aspect of concrete for DIYers is the curing process. Concrete does not "dry" in the way paint or wood finish dries — it undergoes a chemical reaction called hydration that requires water to be present. When you see freshly poured concrete on a hot day and think "great, it'll dry fast" — you're actually watching the failure condition develop. Surface moisture evaporating too quickly interrupts hydration chemistry and weakens the near-surface layer, leading to dusting, scaling, and cracking.
Proper curing means keeping the concrete moist for the curing period:
- 24–48 hours: Initial set. Concrete reaches enough strength to bear light loads (foot traffic, post loading). Do not drive vehicles over poured surfaces or apply significant load to posts during this window.
- 7 days: Concrete reaches approximately 70% of its 28-day design strength. Functional for most applications.
- 28 days: Full design strength. This is the standard benchmark for concrete strength testing. The 4,000 PSI rating on Quikrete refers to this 28-day value.
To maintain moisture during curing: cover the pour with plastic sheeting or wet burlap, re-wet if the covering dries out, and protect from sun and wind for the first 24 to 48 hours at minimum. In dry or hot conditions, longer curing protection pays off in measurably better long-term performance.
| Specification | Details |
|---|---|
| Product | Quikrete Concrete Mix |
| Weight | 60 lb |
| Yield | Approximately 0.45 cubic feet per bag |
| Compressive Strength | ~4,000 PSI at 28 days (when properly mixed) |
| Mix Components | Pre-blended portland cement, sand, and gravel |
| Water Required | Approximately 3 pints (0.4 gallons) per 60 lb bag |
| Working Time | Approximately 15–30 minutes after mixing |
| Initial Set | 24–48 hours |
| Full Cure | 28 days |
| Common Uses | Fence posts, deck footings, sidewalk patches, steps, mailbox posts, general repairs |
| Brand | Quikrete |
| Available At | Liberty Farm, Home & Garden, Galion, Ohio |
Related Masonry and Repair Products at Liberty Farm, Home & Garden
We carry a range of masonry, repair, and concrete-adjacent products at Liberty Farm, Home & Garden for projects beyond general concrete work:
- Mastercraft Mortar Mix (Type N) 60 lb — For tuckpointing brick and block walls, setting stone, and chimney repair. Mortar mix is not the same as concrete — it uses smaller aggregate and different cement ratios designed for bond rather than compression. Type N is the standard residential mortar mix suitable for above-grade exterior work.
- Mastercraft Mortar Mix (Type S) 80 lb — Higher strength Type S mortar for below-grade applications, heavy stone installation, and any masonry application requiring stronger bond and compressive resistance. Type S is the right choice for foundation work, retaining walls, and in-ground block construction.
- SealBest Blacktop Pothole Patch (50 lb) — For asphalt driveway repairs rather than concrete. Potholes, cracks, and low spots in blacktop driveways are different from concrete repairs — they require a polymer-modified asphalt material rather than cement-based products. SealBest is a reliable option for Ohio driveway maintenance.
- 3M Duct Tape General Purpose (1.88-in x 45 Yards) — Handy for sealing form joints, securing plastic curing covers, and general project use. A roll in the toolbox when doing any concrete work is practical for a dozen different small tasks.
Frequently Asked Questions
Keep Reading

Fire Up June with Bold Flavor: A Complete Guide to Dan-O's Adob-O Seasoning
Dan-O's Adob-O Seasoning brings smoky chipotle, paprika, garlic, and tomato to your summer cooking — discover how to use this bold all-purpose blend this June at Liberty Farm, Home & Garden in Galion, Ohio.
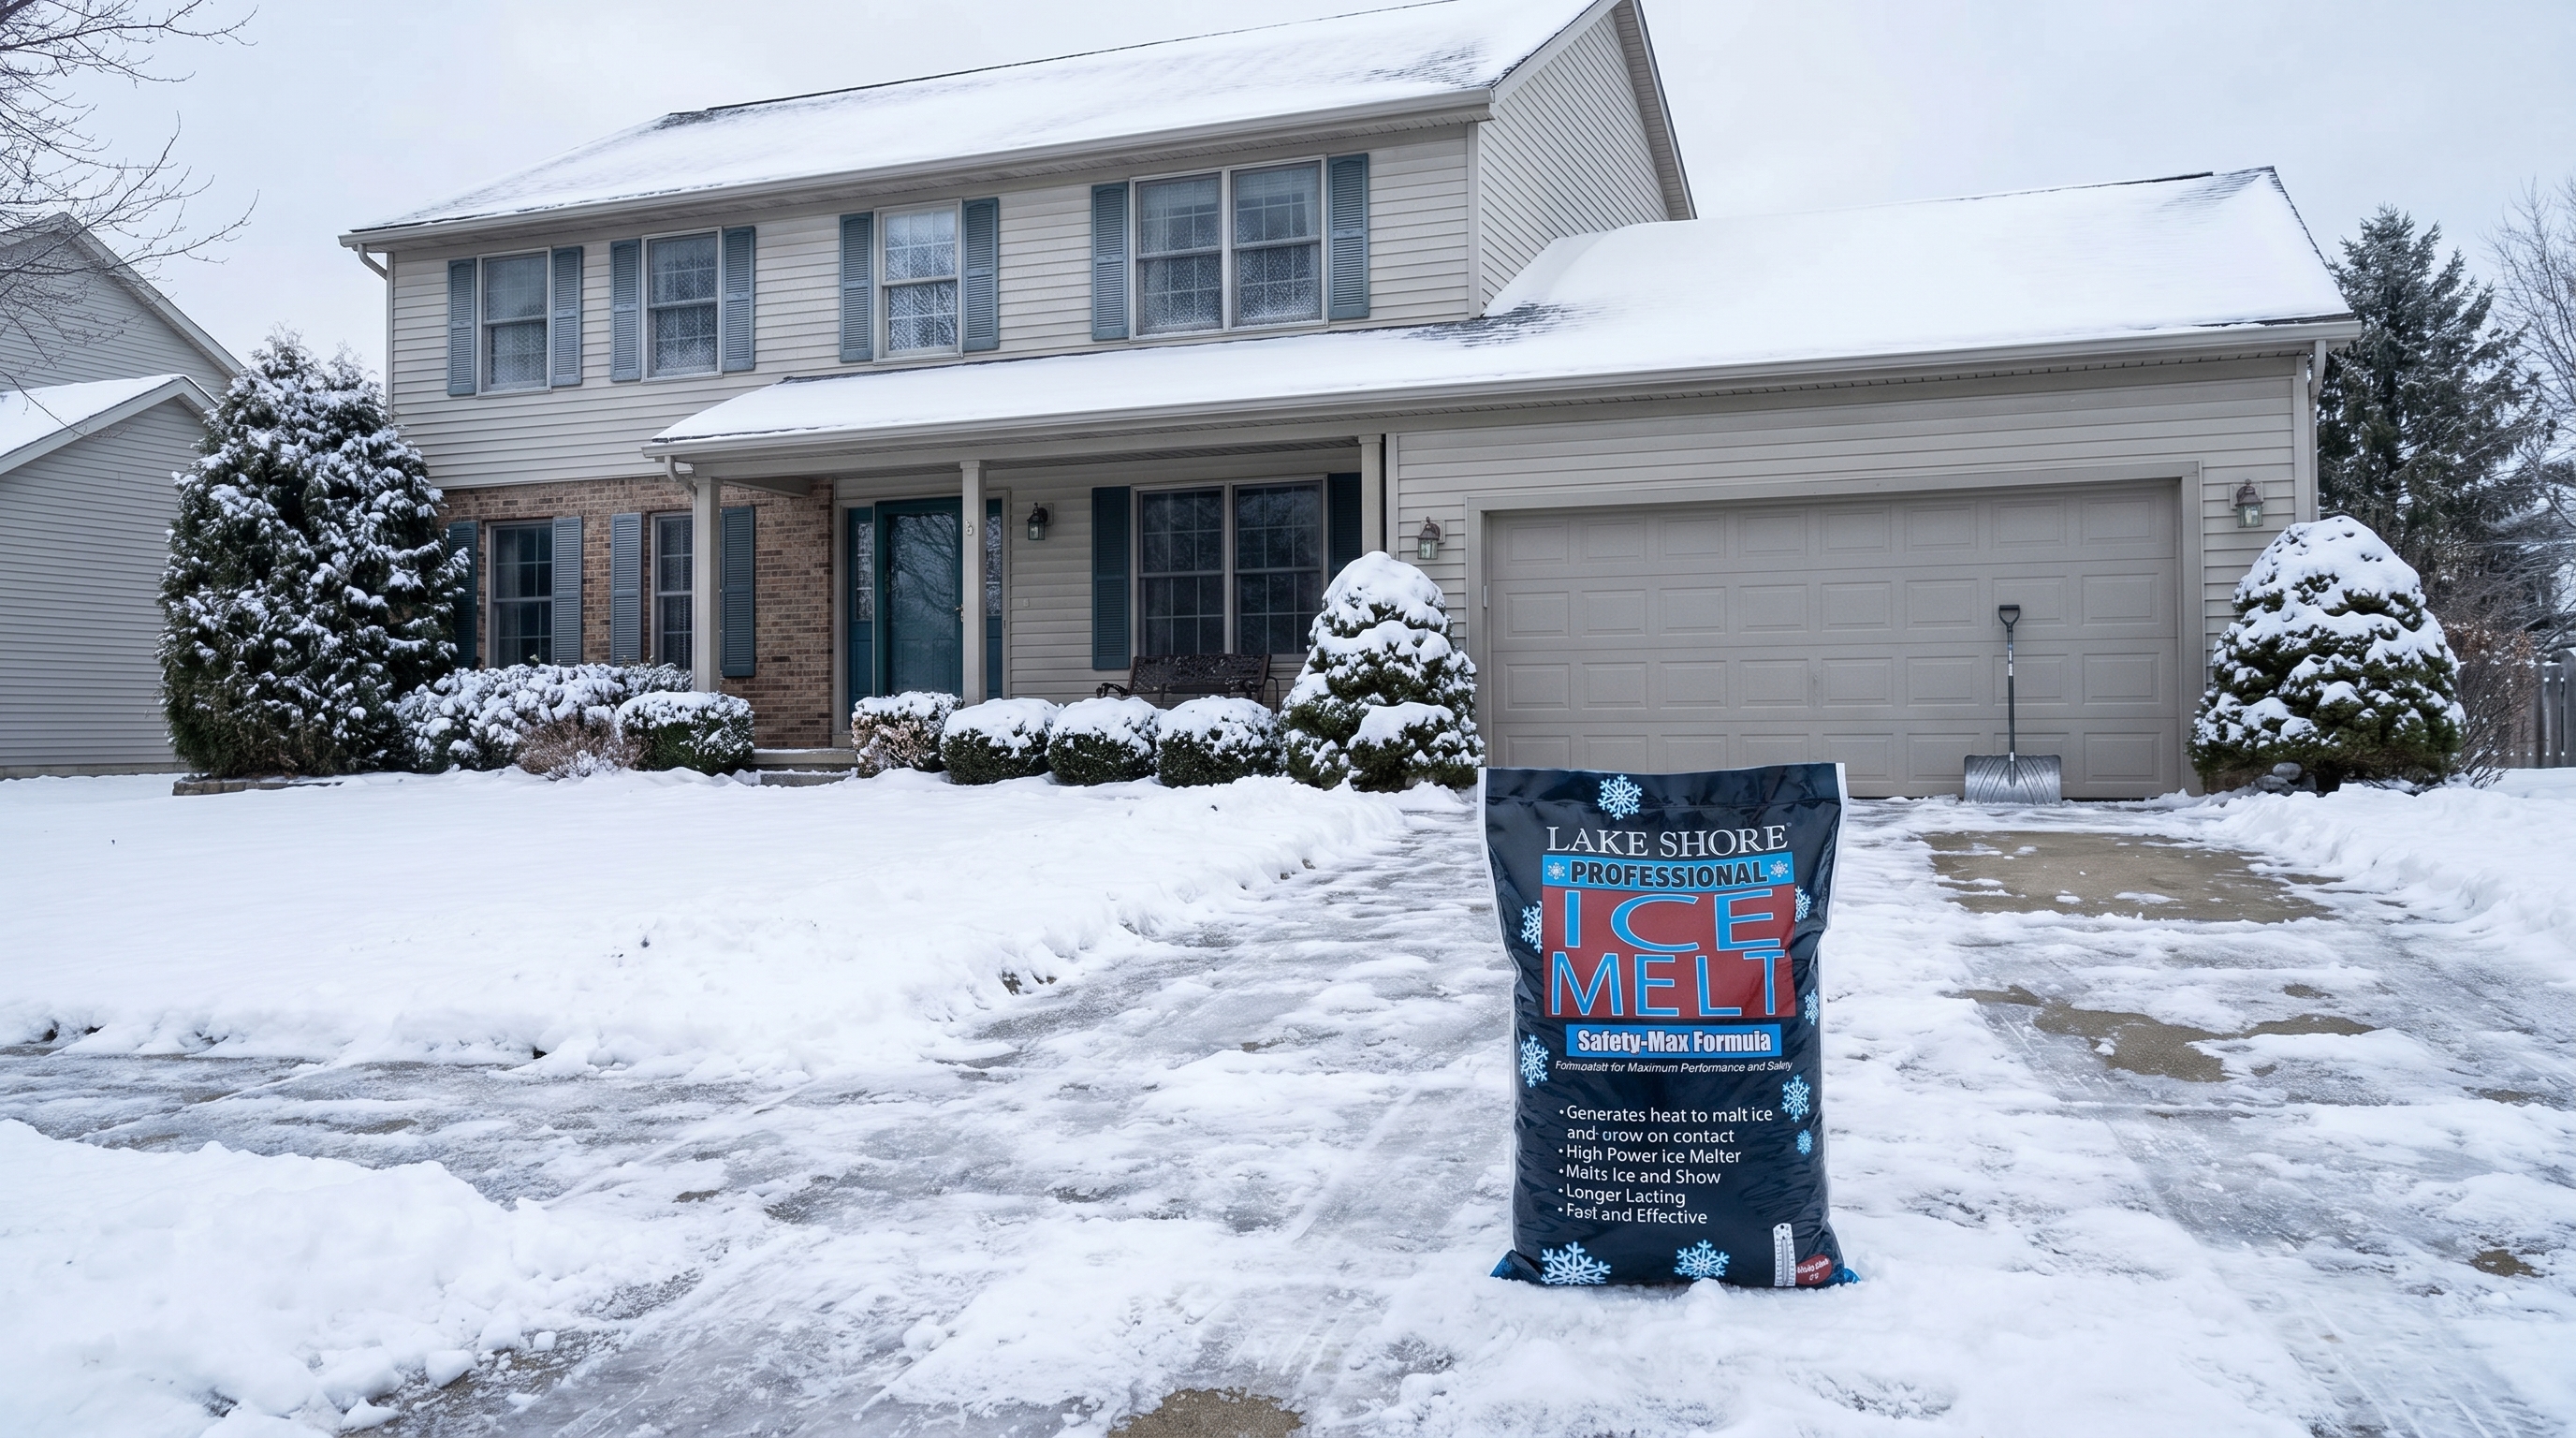
Why Running Out of Ice Melt Is Always Your Fault — A Complete Guide to Lake Shore Professional Ice Melt (50 lb) for Driveways, Sidewalks, and Parking Areas
How a professional-grade, multi-surface ice melt formula handles Ohio's worst winter storms — and why a 50 lb bag is the only sensible way to stock your garage before the first freeze