Midsummer Tomato Care: Keep Your Ohio Plants Producing Through August
June's long days are behind you and the real heat is coming. Here's how to give your tomato plants exactly what they need right now to keep setting fruit all the way into September.
The summer solstice has just passed, which means your tomato plants are entering the most critical stretch of the entire growing season. From now through mid-August, the decisions you make about watering, feeding, pruning, and pest management will determine whether you pull in basketfuls of ripe fruit or watch your plants sputter out under the heat. North-central Ohio's midsummer weather — hot, sometimes humid, occasionally dry for stretches — is both a gift and a challenge for tomatoes, and a little attentive care right now pays off enormously at harvest time.
Understanding Where Your Tomato Plants Are Right Now
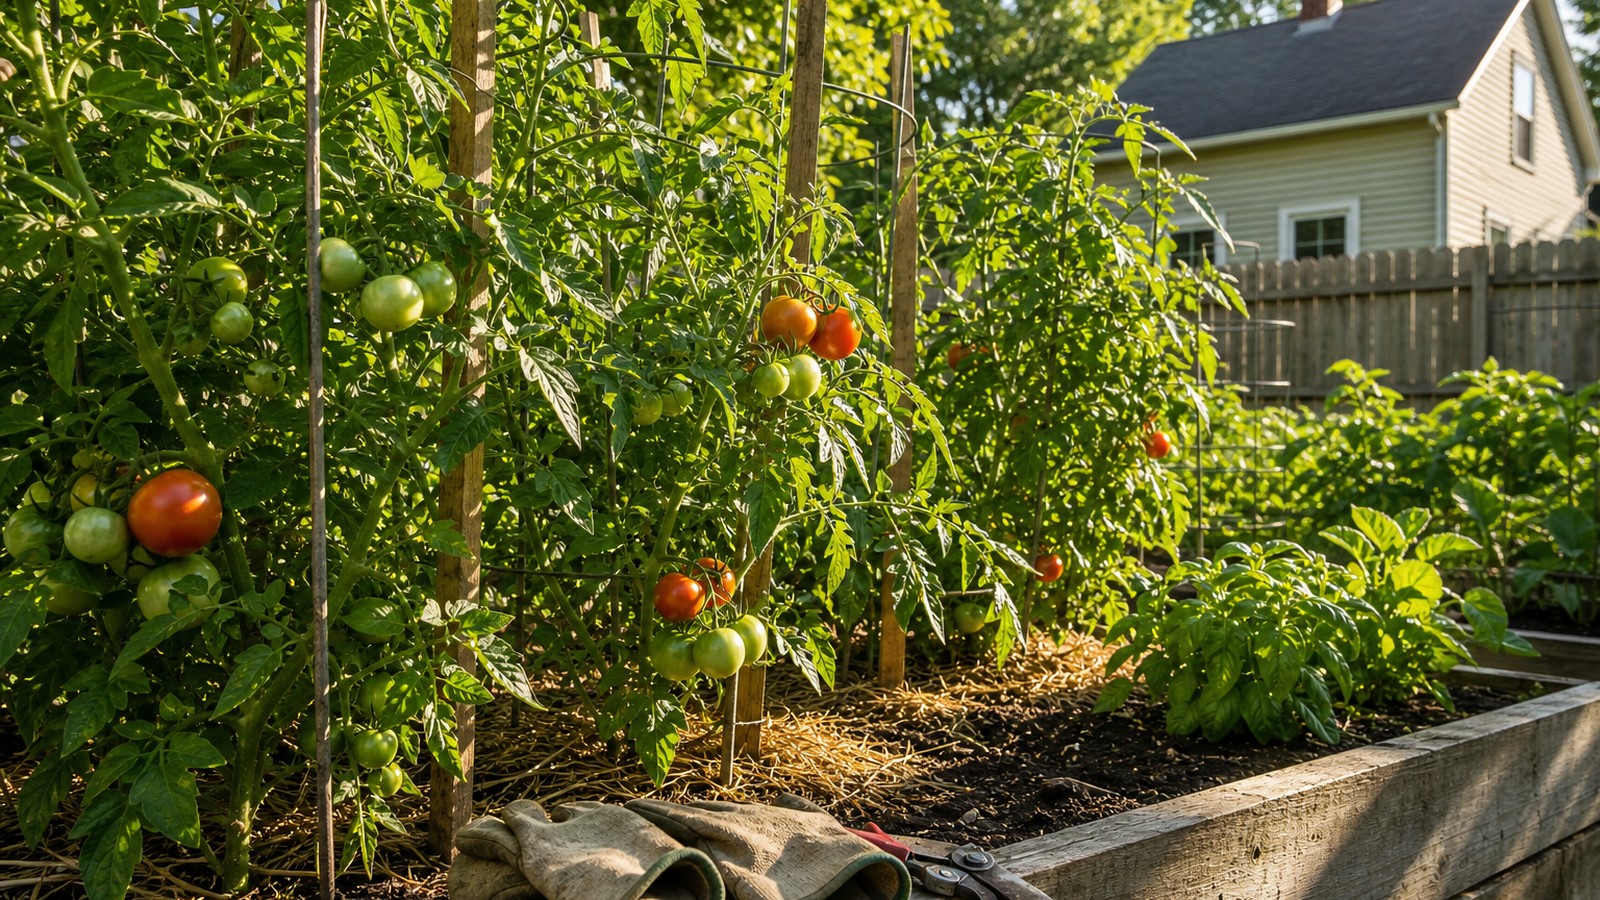
By the third week of June in USDA Hardiness Zone 6 — which covers Galion and the surrounding Crawford County area — most tomato plants set out in mid-May have been in the ground for five to six weeks. Indeterminate varieties like Cherokee Purple, Better Boy, Brandywine, and most heirloom slicers are actively climbing and have likely begun setting their first clusters of fruit. Determinate types like Roma and Celebrity may already have a full load of green fruit forming.
This is a transition point. The plant is no longer a seedling trying to establish roots, but it hasn't yet hit the punishing heat of late July. Think of late June as the last window to get everything dialed in before the plant is under maximum stress. Soil biology is active, root systems are mature enough to take up nutrients efficiently, and the long daylight hours are driving photosynthesis hard. Use this window well.
Before diving into tasks, spend ten minutes walking your rows and taking stock. Look at the color of your leaves — deep green is healthy, pale yellow-green can signal nitrogen deficiency or root stress, and dark bronzing or purple tinting can mean phosphorus problems or cold-damaged root tissue that hasn't fully recovered. Check for the first signs of disease and insect pressure. Look at how your cages or stakes are holding up as the plants add weight. Everything you see right now tells you what to prioritize.
Pruning and Suckering: The Most Underrated Midsummer Task
If you're growing indeterminate tomatoes — and most gardeners in this area are growing at least a few — consistent pruning is the single highest-return task you can do this time of year. The goal is not to make a smaller plant; it's to keep the plant's energy directed toward the fruit it's already set and the new flower clusters forming at the top, rather than spreading it into dozens of additional leafy branches that won't have time to produce before frost.
What to remove: Focus on suckers — the shoots that emerge from the crotch between the main stem and a branch. Left alone, every sucker becomes a full secondary stem with its own fruit-bearing potential, but that potential comes at a cost in overall plant energy and airflow. In late June, you don't need to be ruthless about removing every sucker; the standard approach is to allow one or two strong suckers below the first flower cluster to develop as secondary leaders, then remove everything that comes after.
How to do it without damaging the plant: Use clean, sharp pruning shears or simply pinch off suckers with your fingers when they're still small — under about two inches long. Never rip or tear. If you're moving from plant to plant, wipe your shears with rubbing alcohol between plants to avoid spreading any fungal or bacterial disease. This sounds tedious but takes less than 30 seconds per plant.
What not to remove: Leaves on the lower stem that are still green and healthy are doing photosynthetic work. The common advice to strip all foliage from the bottom foot of the plant to improve airflow is valid, but wait until leaves actually begin to yellow or show spotting before removing healthy lower foliage. Stripping too aggressively in hot weather can expose fruit to sunscald.
For determinate varieties, skip the suckering. Determinate plants are genetically programmed to stop growing at a certain height and set all their fruit at roughly the same time. Removing suckers on a determinate tomato just reduces your yield.
Watering Deeply and Consistently: The Non-Negotiable Requirement
Inconsistent watering is the number-one cause of the two most common tomato problems in Ohio home gardens: blossom end rot and fruit cracking. Both are caused not by disease but by calcium deficiency triggered by irregular moisture uptake — the plant simply can't move calcium from the soil into the fruit if the soil swings from wet to dry and back again.
In late June, your tomato plants need approximately 1 to 1.5 inches of water per week, delivered consistently. Here's what that looks like in practice:
- If you're hand-watering or using a hose, water deeply at the base of the plant — not from overhead — two to three times per week rather than a little bit every day. Each watering session should wet the soil to a depth of at least 8 inches. A quick 30-second splash does more harm than good by encouraging shallow roots.
- A simple soil moisture check: push your finger 2 inches into the soil near the base of the plant. If it's dry at that depth, it's time to water. If it's still damp, wait another day.
- Soaker hoses or drip irrigation are far superior to overhead watering for tomatoes. Keeping water off the leaves dramatically reduces the risk of early blight, septoria leaf spot, and other fungal diseases that spread through wet foliage. If you don't have drip lines yet, mid-season is not too late to lay them — a soaker hose looped around the base of a plant takes about ten minutes to set up.
- Water in the morning rather than the evening. Wet soil at night combined with Ohio's summer humidity is an invitation to disease.
If your area has gone more than a week without significant rain — which happens regularly in Crawford County during July and August — supplement aggressively. Tomatoes under drought stress stop setting new fruit and abort developing blossoms before you'll even notice anything is wrong.
Mulching: One Layer That Does Five Jobs at Once
If your tomato beds are not yet mulched, this is genuinely urgent. A 3-inch layer of straw, shredded wood mulch, or other organic material around the base of each plant does all of the following simultaneously:
- Moderates soil temperature. Bare soil in a Crawford County garden in July can hit 130°F at the surface, which impairs root function even when the plant looks fine above ground. Mulch keeps root-zone soil 10 to 20 degrees cooler.
- Retains moisture. Properly mulched beds lose dramatically less water to evaporation, which means more consistent soil moisture and less watering work for you.
- Prevents soilborne disease splash. Diseases like early blight and septoria live in the soil and spread upward onto leaves when rain or irrigation water splashes infected soil particles onto lower foliage. A mulch layer physically intercepts those splashes.
- Suppresses weeds. Fewer weeds competing for water and nutrients in the hottest part of the season.
- Feeds the soil. Organic mulches break down slowly and improve soil structure over the season.
For tomatoes specifically, straw is the classic choice because it's light, allows good airflow at the soil surface, and doesn't mat down as quickly as some wood mulches. Avoid mulching right up against the stem — leave a 2-inch gap around the base to prevent stem rot. You can find straw bales and mulch options at Liberty Farm, Home & Garden in Galion if you need to pick up a bale before the hottest weeks arrive.
Midsummer Fertilizing: Feed the Fruit, Not the Leaves
Tomatoes are heavy feeders, but what they need changes as the season progresses. When you first transplanted in May, a fertilizer with relatively higher nitrogen helped establish leafy, vigorous vegetative growth. By late June, the goal shifts: you want to support fruit development and root health, which means pulling back on nitrogen and leaning into phosphorus and potassium.
Too much nitrogen at this stage produces exactly what you don't want — lush, dark green foliage with few flowers and slow fruit development. If your plants are enormous and green but light on fruit clusters, excess nitrogen is often the culprit.
What to look for on a fertilizer label now: A product with a lower first number (nitrogen) and higher second and third numbers (phosphorus and potassium) — something in the range of 5-10-10 or similar. Tomato-specific fertilizers are formulated with this balance in mind. Calcium is also worth paying attention to at this stage, as it directly reduces blossom end rot risk.
Application timing: Side-dress granular fertilizer every three to four weeks through the season, keeping it 6 inches away from the stem, then water in well. Liquid fertilizers applied to the root zone every two weeks are another solid option and get into the plant more quickly during hot, dry stretches when soil biology slows down.
One common midsummer practice worth considering: a foliar spray of diluted liquid calcium or a calcium-magnesium supplement applied to the underside of leaves. This is a supplemental measure, not a replacement for consistent soil calcium, but it can help plants under stress bounce back more quickly. Follow label directions carefully — more is not better with foliar applications.
| Issue | Likely Cause | Midsummer Fix |
|---|---|---|
| Blossom end rot (dark sunken bottom on fruit) | Calcium deficiency from inconsistent watering | Consistent deep watering, calcium-rich fertilizer, mulch |
| Fruit cracking | Rapid moisture swing after dry spell | Even irrigation schedule, mulch to buffer soil moisture |
| Pale yellow leaves (older leaves first) | Nitrogen deficiency | Side-dress balanced tomato fertilizer, water in well |
| Dark spots with yellow halo on lower leaves | Early blight or septoria leaf spot | Remove affected leaves, apply copper-based fungicide, improve airflow |
| Wilting despite adequate water | Fusarium or verticillium wilt (soilborne) | No cure; remove plant, plant resistant varieties next year |
| Flower drop without fruit set | Temperatures above 95°F or humidity extremes | Shade cloth during heat waves, consistent watering |
| Curled leaves (inward roll) | Heat stress or irregular watering (physiological) | Usually harmless; improve watering consistency |
| Product | Tomato fertilizers, soaker hoses, mulch, copper fungicides, garden stakes and cages | |
| Available At | Liberty Farm, Home & Garden - Galion, Ohio | libertyfhg.com | |
Disease Watch: The Fungal Problems That Peak in Ohio Summers
Midsummer in north-central Ohio — warm days, humid nights, occasional heavy thunderstorms — is prime time for the fungal diseases that plague tomato growers. Knowing what you're looking at, and catching it early, makes all the difference between managing a minor problem and losing plants.
Early blight (Alternaria solani) is arguably the most common tomato disease in Ohio. It starts on the oldest, lowest leaves as small brown spots with concentric rings and a yellow halo — like a target. It spreads upward and inward over time. Early blight doesn't kill plants outright, but it progressively defoliates them, reducing photosynthesis and leaving fruit exposed to sunscald. Management: remove affected leaves promptly and dispose of them (not in your compost bin), maintain good airflow through pruning, avoid overhead watering, and apply a copper-based fungicide preventatively — before you see it, or at the very first sign.
Septoria leaf spot looks similar to early blight but produces smaller spots with a tan center and dark border, often with tiny black specks visible in the center of each spot. The same management approach applies: remove affected foliage, improve airflow, copper fungicide.
Late blight (Phytophthora infestans) — the same pathogen responsible for the Irish Potato Famine — is less common than early blight but far more destructive. It appears as irregularly shaped, water-soaked, grayish-green patches on leaves and fruit that can spread across a plant in 48 hours under the right conditions. Late blight spreads rapidly in cool, wet weather. If you see it, act immediately: remove and bag affected plant material, apply a fungicide rated for late blight, and alert neighboring gardeners who grow tomatoes.
A practical prevention routine for midsummer: walk your rows every three to four days and remove any leaves that show spots, discoloration, or yellowing. Don't let fallen leaves sit on the soil surface. If your plants are dense and the center of the plant gets little airflow, remove a few interior branches to open things up. This is not glamorous gardening, but it genuinely works.
Managing Insects Before They Manage Your Harvest
The insect pressure on Ohio tomatoes ramps up significantly in late June and July. Several pests are worth knowing by sight so you can respond appropriately — not every insect in your garden is a problem, and some are valuable allies.
Tomato hornworm is the one that surprises gardeners every year. The caterpillar — a massive, bright green larva with white diagonal stripes and a rear horn — can defoliate a large branch overnight. Look for their dark green droppings (frass) on leaves before you spot the caterpillar itself; the frass is easier to see than the well-camouflaged worm. Hand-picking is effective and satisfying. If you find hornworms covered in small white cocoons, leave them alone — those cocoons are parasitic wasp larvae that will kill the hornworm and go on to control future populations.
Aphids cluster on new growth and the undersides of leaves, causing curling and distortion. A hard spray of water from a hose dislodges most colonies. Insecticidal soap is effective and safe to use on edibles when applied correctly. Lady beetles and lacewings are natural aphid predators — another reason to avoid broad-spectrum insecticides unless absolutely necessary.
Stink bugs — both the native green stink bug and the invasive brown marmorated stink bug — cause stippled, cat-faced scarring on tomato fruit. They pierce the skin and inject saliva, which leaves hard, white, mealy tissue inside the tomato. There's no effective spray once they're feeding; physical exclusion with row cover during vulnerable periods and hand removal are the most practical options.
Colorado potato beetle can find tomatoes as well as potatoes. Look for the distinctive yellow-and-black striped adults and orange-red egg clusters on leaf undersides. Hand-pick egg masses and adults. Spinosad-based insecticides are effective on larvae and approved for organic production.
Stop by Liberty Farm, Home & Garden if you need insecticidal soap, copper fungicide, spinosad, or row cover material — the staff there can point you toward what's in stock and appropriate for your situation.
Supporting Your Plants as They Get Heavy
By late June, indeterminate tomato plants in Ohio can easily be four feet tall and adding several inches per week. The cages and stakes you put in at transplanting may be showing their limits. A plant loaded with developing fruit can be heavy, and summer thunderstorms — which in Crawford County can bring significant wind gusts with little warning — can topple or snap unsupported plants.
Take stock of your support situation now, before the plants get any bigger:
- Wire cages: The flimsy cone-shaped cages from big-box stores are notorious for collapsing once an indeterminate plant grows beyond them. If yours are already leaning or tipping, reinforce them by driving a sturdy wooden or metal stake alongside the cage and tying the cage to the stake. Better yet, replace failing cages with heavier-gauge square cages or Florida weave staking.
- Stake-and-tie systems: If you're using individual stakes, check every tie point. As plants grow, the stems thicken and ties can become too tight, cutting into the stem. Use soft fabric ties or cut strips of old t-shirt material — never wire or twist-ties directly against the stem. Retie as needed, allowing room for the stem to expand.
- Florida weave (basket weave): If you're growing a row of tomatoes, the Florida weave system — running twine back and forth between posts in alternating passes — is one of the most cost-effective and sturdy support methods available. It's easy to add additional levels of twine as plants grow taller.
While you're evaluating supports, also check that your plants have room to breathe. Dense plantings where foliage from neighboring plants overlaps create humid microclimates where fungal disease thrives. The ideal is 18 to 24 inches of clear space between mature plant canopies.
Looking Ahead: What to Do in July to Extend the Harvest
Midsummer care isn't just about managing problems — it's also about setting yourself up for the late-season harvest that runs from mid-August through October's first frost (typically around October 15 to 20 in Galion). A few things worth planning for now:
Manage the heat wave strategy. When temperatures climb above 90°F for multiple consecutive days — which happens most years in Crawford County during late July and early August — tomato flowers drop without setting fruit. This is a physiological response, not a disease. You can't fully prevent it, but you can minimize it. Consistent soil moisture is the single biggest factor in your control. Some gardeners use 30% shade cloth draped over their plants during the hottest part of the afternoon during heat waves, which can meaningfully reduce flower drop. Remove the shade cloth when temperatures moderate.
Plan your second fertilizer application. If you fertilized in late June, your next application should come around mid-July, as the first fruits are sizing up and the plant is under significant nutrient demand.
Think about succession. If you direct-seeded any fast-maturing tomato varieties in June (some cherry tomato varieties mature in 55 to 65 days), they should be sizing up now. For the main-season garden, this is also a reasonable time to plant a few transplants of cherry or paste tomatoes if you can find them at your local supplier — a plant in the ground in late June still has time to produce a meaningful harvest before frost.
Keep records. This is the time of year when gardeners make mental notes about what's working and what isn't — and then forget by next spring. Take a few photos of healthy plants and struggling ones, jot down the variety names of anything performing exceptionally well or poorly, and note which pest problems appeared first. That information is worth more than any advice next April when you're planning what to grow and what to buy.
For stakes, ties, fertilizer, fungicide, soaker hose supplies, and any other mid-season tomato garden needs, Liberty Farm, Home & Garden at 222 S. Liberty St. in Galion is a practical local stop — close by and stocked for the season.
Frequently Asked Questions
Keep Reading
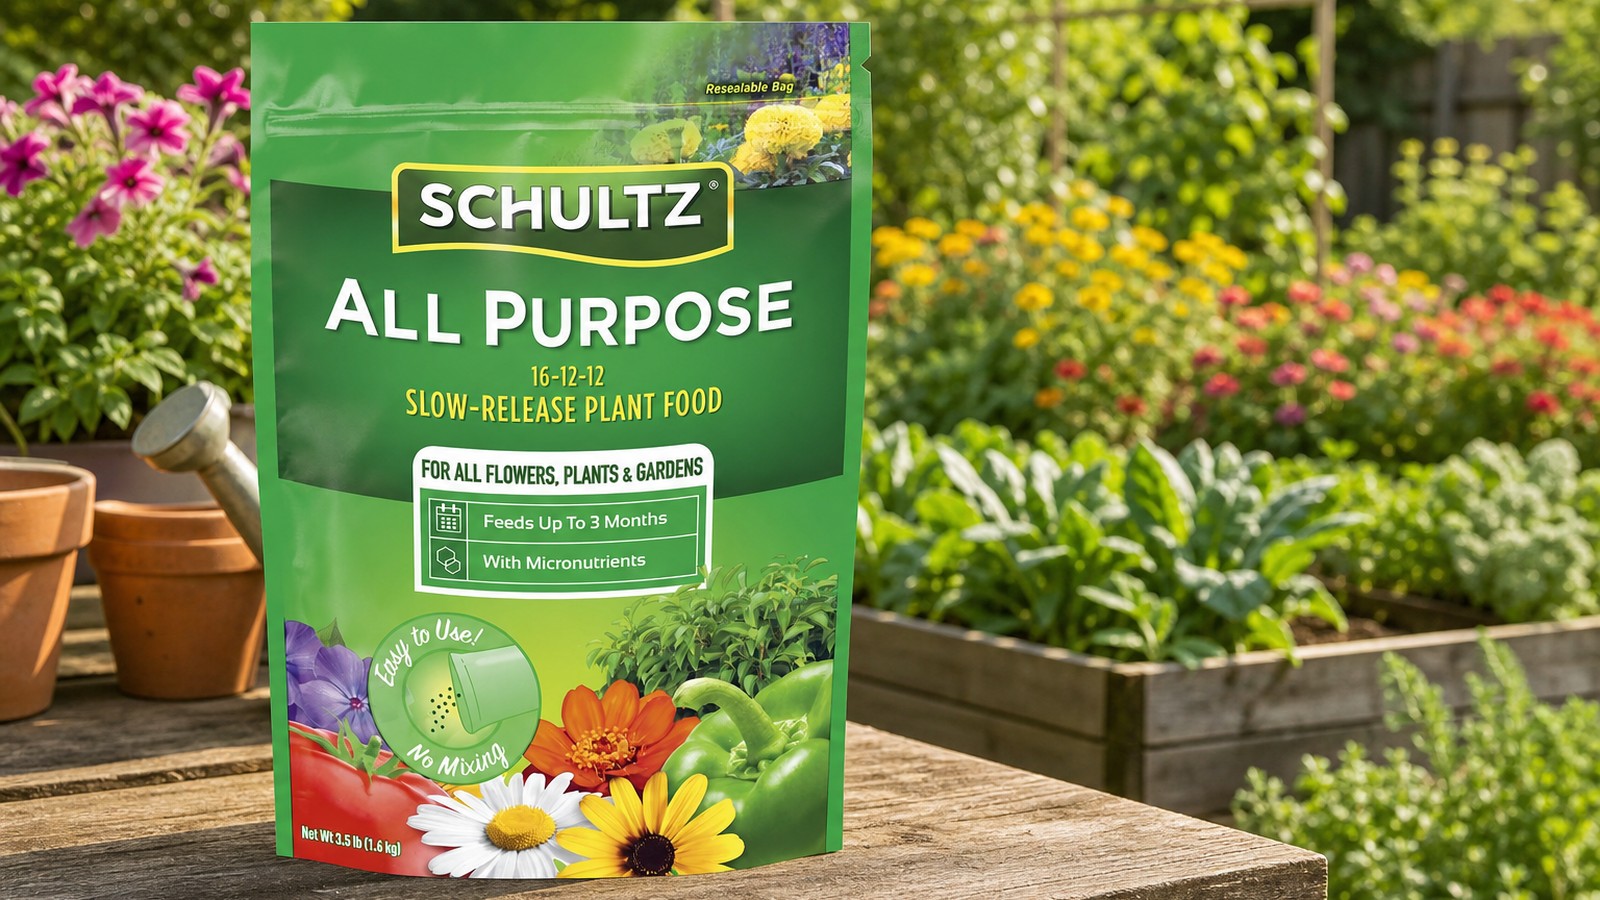
Feed Everything in Your Garden at Once: A Complete Guide to Schultz All Purpose Fertilizer
Learn how and when to apply Schultz All Purpose Fertilizer this July in Ohio to keep flowers, vegetables, trees, and shrubs thriving all season. Available now at Liberty Farm, Home & Garden in Galion, Ohio.
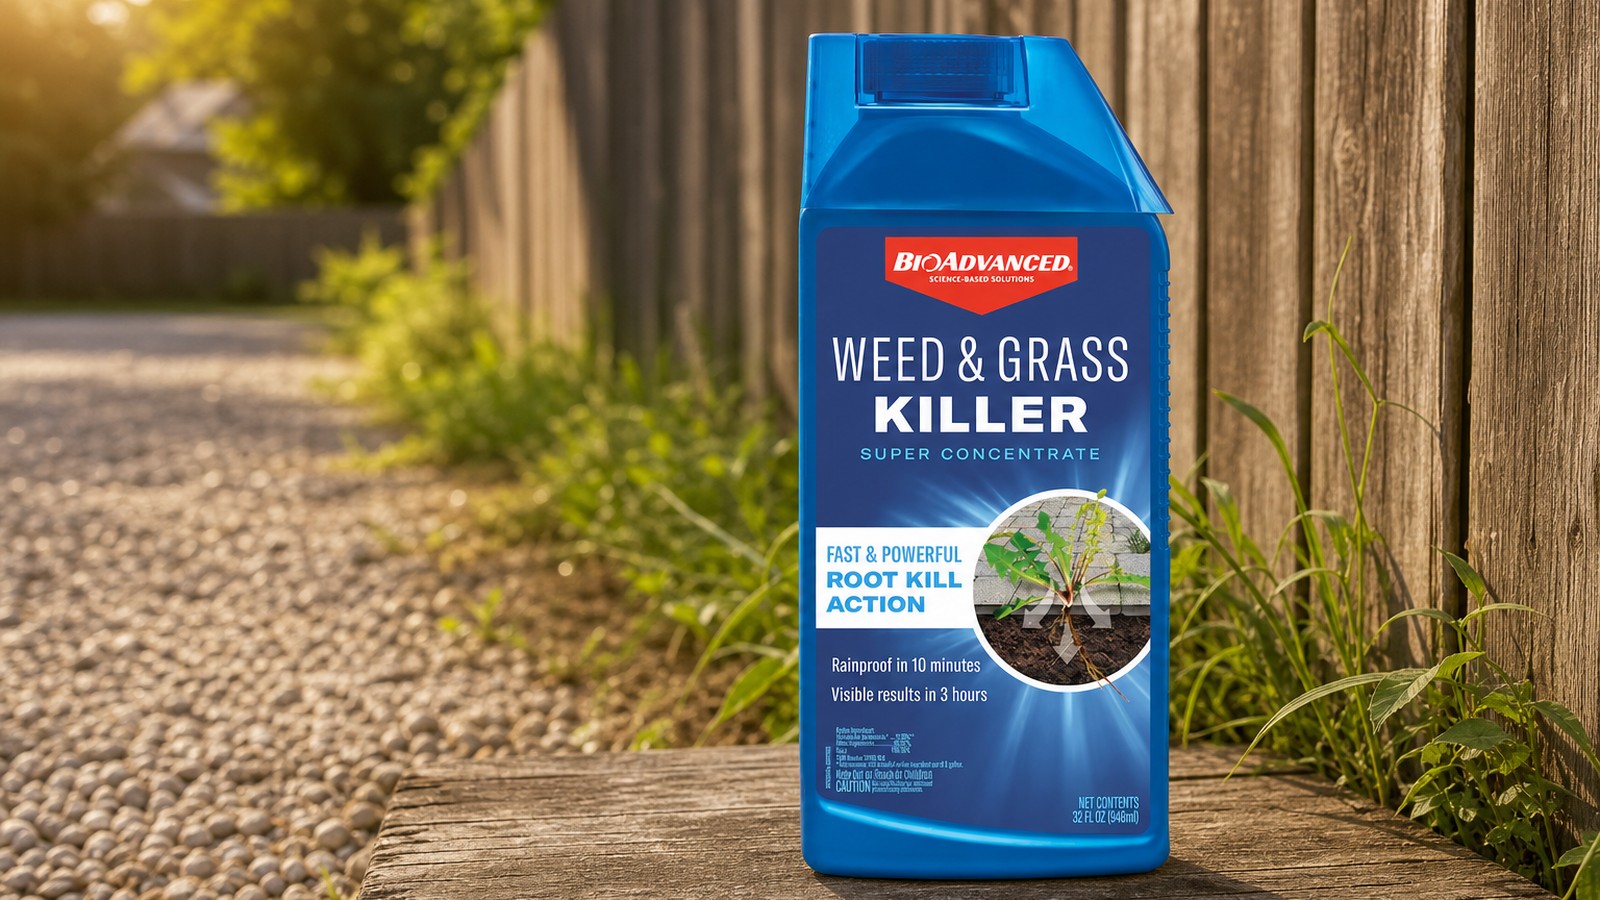
Stop Weeds Before Summer Heat Sets Them In: A Complete Guide to BioAdvanced Concentrated Weed and Grass Killer
Learn why late June is the perfect time to use BioAdvanced Concentrated Weed and Grass Killer on driveways, fence lines, and garden borders in Ohio. Available now at Liberty Farm, Home & Garden in Galion, Ohio.