
Home Canning in Ohio: A Safe August Guide for Garden Harvests
A practical, research-based starting plan for turning August fruit, tomatoes, pickles, and vegetables into safe, shelf-stable food—without relying on guesswork or inherited shortcuts.
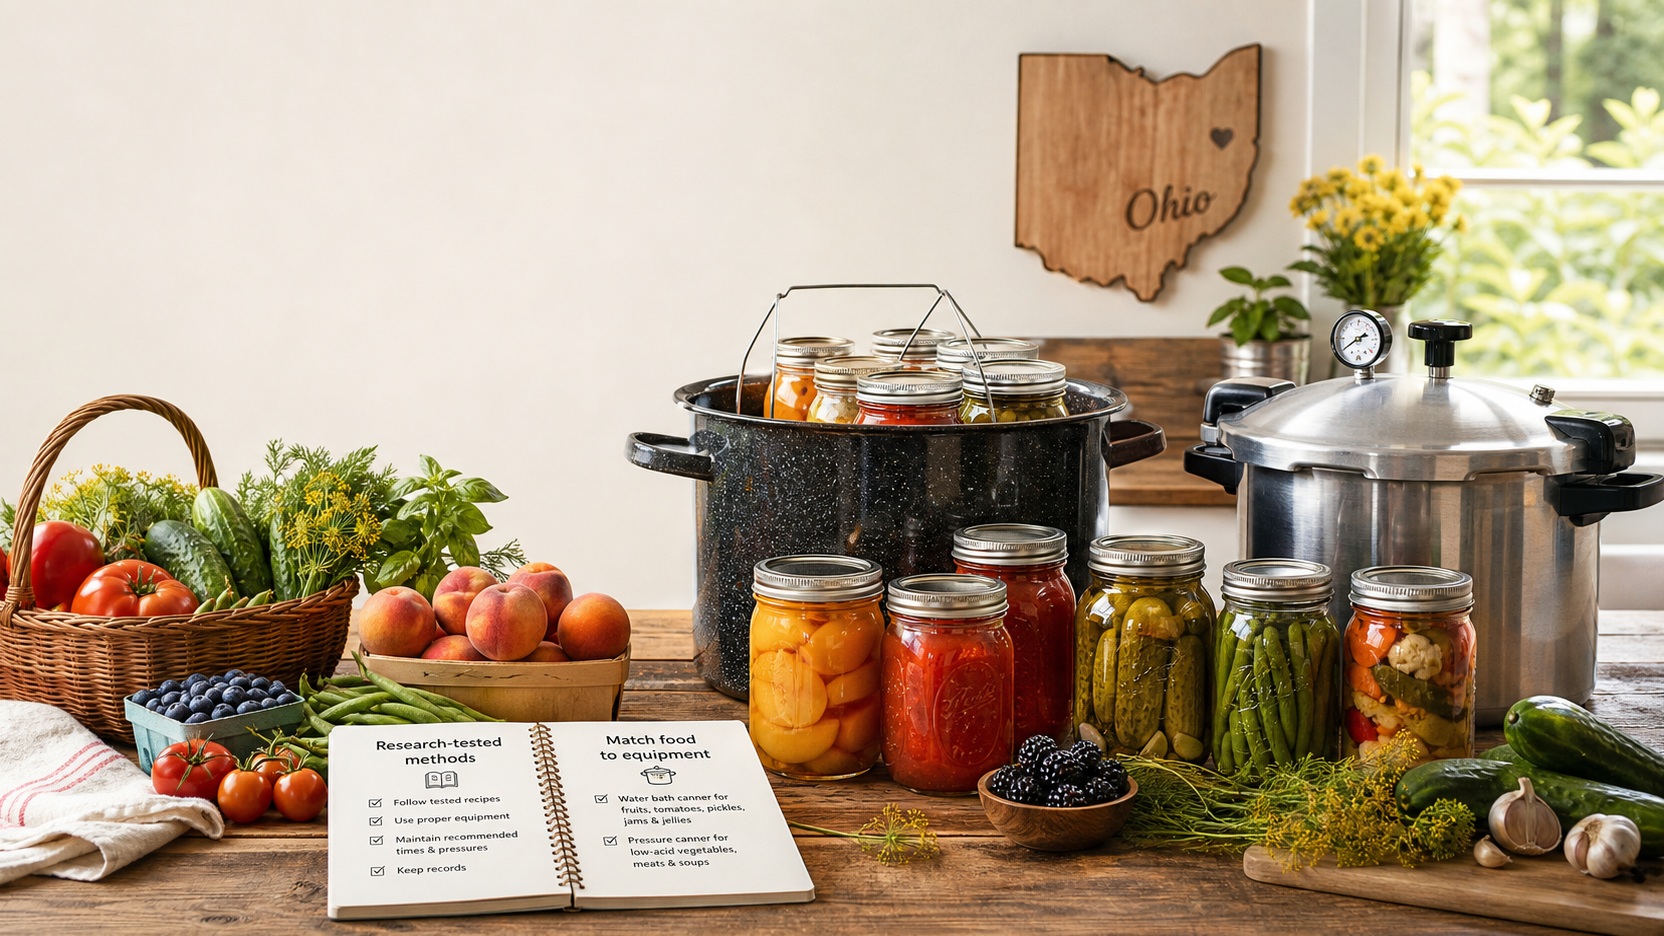
By early August, a north-central Ohio kitchen can fill up quickly: tomatoes ripen by the basket, cucumbers hide under their leaves, beans seem to double overnight, and peaches or berries arrive with a short window for using them well. Home canning can stretch that harvest into winter, but the safest first question is not Which recipe sounds good? It is Which tested process fits this food?
Canning is different from ordinary cooking because a sealed jar creates a low-oxygen environment. The acidity of the food, the canner, the jar size, the packing method, the processing time, the pressure, and even elevation can all matter. A lid that pings is satisfying, but a seal alone does not prove that the food was processed safely.
This guide gives Galion-area beginners and returning canners a practical way to plan an August batch. It does not replace a tested recipe. Instead, it shows how to choose a reliable source, match food to equipment, organize the work, recognize risky shortcuts, and decide what to do when a jar does not look right.
Why August Is the Right Time to Make a Plan
Peak produce can create pressure to preserve everything at once. That is when people are most tempted to scale up a recipe, substitute ingredients, use an oversized jar, or revive a handwritten method without checking it against current guidance. A safer approach begins before the first jar is filled.
Start by making a short harvest inventory. Separate produce into three groups: food to eat fresh this week, food to freeze or refrigerate, and food you may can with a tested recipe. Canning is not automatically the best method for every item. Freezing can be a simpler choice when time is short, quality matters more than shelf stability, or no tested canning process exists for the dish you want to make.
Then choose one canning project, not five. A batch of fruit, a tested pickle recipe, acidified tomatoes, or a pressure-canned vegetable is enough for one session. Read the entire recipe before buying lids or heating water. Confirm the food, style of pack, jar size, headspace, canner type, elevation adjustment, and processing instructions. If any one of those details is missing, find a complete research-tested recipe before continuing.
For Ohio-specific guidance, Ohio State University Extension's Canning Basics explains why acidity and elevation affect processing. The National Center for Home Food Preservation organizes tested directions by food and method. These sources are better starting points than an undated social post, an unverified video, or a recipe that says only to process jars “until sealed.”
Match the Food to the Safe Canning Method
The dividing line in home canning is acidity. Foods with a pH of 4.6 or lower are acidic enough to prevent the growth of Clostridium botulinum when they are processed correctly. Low-acid foods have a pH above 4.6 and require the higher temperatures produced by a pressure canner. You cannot reliably judge acidity by taste, color, variety name, or how tangy a recipe seems.
A boiling-water canner is used for properly acidified foods when a tested recipe calls for it. That group includes most fruits and recipes such as jams, jellies, and pickles whose tested formulas provide the necessary acidity. Low-acid vegetables, meat, poultry, fish, and many mixtures must be pressure canned according to a tested process. Boiling-water processing is not a safe substitute for pressure canning low-acid food, no matter how long the jars remain in the pot.
| Food or recipe type | Typical tested method | Important planning note |
|---|---|---|
| Most fruits and fruit spreads | Boiling-water canner | Use the exact jar size, pack style, and time in the tested recipe. |
| Pickles and acidified relishes | Boiling-water canner | Do not change the proportions of produce, vinegar, or water. |
| Tomatoes and tomato products | Tested boiling-water or pressure process | Follow the recipe's acidification directions even when pressure processing. |
| Plain vegetables such as green beans or carrots | Pressure canner | These are low-acid foods; a boiling-water canner is not enough. |
| Meat, poultry, seafood, and many soups | Pressure canner | Use only a tested formula and the specified preparation and jar size. |
| Untested mixed dishes | Do not improvise a canning process | Freeze, refrigerate, or find a tested recipe for the exact product. |
The method is only one part of the process. Processing time may change with jar size, raw pack versus hot pack, food density, and elevation. Pressure settings may also change with elevation and gauge type. Follow the full table attached to the tested recipe rather than carrying one familiar time or pressure from one food to another.
Build Every Batch From a Tested Source
“Tested” has a specific meaning in home food preservation. It refers to a process developed or evaluated to deliver enough heat to the coldest part of the jar for the required time. That is why a dependable recipe specifies details that casual recipes often skip: preparation method, ingredient proportions, jar size, headspace, pack style, canner type, process time, pressure, and altitude adjustments.
Use current recommendations from the USDA, the National Center for Home Food Preservation, Ohio State University Extension, or another land-grant university extension service that follows USDA guidance. The USDA Complete Guide to Home Canning is a foundational reference, while newer Ohio State fact sheets provide clear, food-specific summaries for fruit and vegetables.
Compare the recipe with what is actually on your counter. If the tested directions call for pints, do not move up to quarts unless the same source supplies a quart process. If the recipe specifies bottled lemon juice, do not assume fresh lemon juice is interchangeable; bottled juice has standardized acidity. If a salsa recipe gives fixed amounts of tomatoes, peppers, onions, acid, and other vegetables, preserve those proportions. You can usually adjust dried spices for flavor, but ingredient changes that affect acidity, density, or heat movement require guidance from the recipe source.
Family recipes deserve respect, but age is not evidence of safety. Canning recommendations, tomato varieties, equipment, and available research have changed. Keep the story and flavor where the tested formula permits it, but let a current process control what goes into a shelf-stable jar. If you cannot verify the method, make the recipe for the refrigerator, freezer, or immediate table instead.
Choose and Check the Right Equipment
A boiling-water canner can be a purpose-built canner or a sufficiently deep pot with a fitted lid and rack. It must hold the jars upright and allow the tested process's required water coverage throughout boiling. A rack keeps jars off the bottom and allows water to circulate. The pot also needs room for a steady boil without spilling over.
A pressure canner is not the same thing as a small pressure cooker or an electric multicooker. CDC guidance says to use a recommended pressure canner that can hold at least four one-quart jars upright on its rack. Follow the manufacturer's directions for the canner model, including inspection of the gasket, vent, safety plug, and gauge. Dial gauges should be checked for accuracy regularly; Ohio State advises checking them every year. Contact your county extension office or the manufacturer to learn what gauge-testing options are currently available.
Use jars made for home canning and inspect each one in good light. Chips at the rim, hairline cracks, or damaged sealing surfaces can cause failure or breakage. Use the lid according to its manufacturer's current directions. Screw bands may be reused when they are clean, undamaged, and free of rust, but flat lids designed for one-time use should not be reused for canning.
Before heating anything, gather a jar lifter, canning funnel, bubble-removal tool, clean towels, timer, measuring tools, and the printed recipe. Check the range manufacturer's instructions if you have a glass or ceramic cooktop; canner weight, pot diameter, and bottom shape can affect whether the appliance is suitable. This ten-minute equipment check is easier than stopping with filled jars and a canner that cannot be operated as required.
Prepare Produce, Jars, and the Workflow
Good preservation begins with sound produce. Choose fresh food at the maturity and condition specified by the tested recipe. Discard moldy or badly damaged portions rather than assuming heat will correct poor quality. Wash produce under running water and prepare it as directed. Peeling, cutting size, blanching, hot packing, and raw packing can affect both quality and heat penetration, so do not treat them as cosmetic choices.
Read the recipe's jar-preparation instructions. Clean jars before filling. Some short boiling-water processes require empty jars to be sterilized first; longer processes may not. The recipe source should tell you what applies. Keep jar temperature compatible with the hot food and canner water to reduce thermal shock.
- Set out the complete recipe. Mark the jar size, headspace, processing time, and altitude adjustment.
- Prepare the canner first. Bring water toward the recipe's starting condition while you prepare the food.
- Measure accurately. Keep required acid and ingredient proportions exact.
- Fill consistently. Use the specified hot- or raw-pack method and remove bubbles as directed.
- Measure headspace. Too little or too much can interfere with venting and sealing.
- Clean the rim. Food or grease on the sealing surface can prevent a seal.
- Apply lids and bands correctly. Tighten bands only as directed—usually fingertip tight, not forcefully cranked down.
Work in manageable batches. Do not let prepared food sit for a long time while you search for missing equipment, and do not partially process jars with a plan to finish later. If the day becomes too crowded, refrigerate or freeze the produce safely and return to canning when you can follow the whole process without rushing.
Tomatoes, Pickles, Salsa, and Other Special Cases
Tomatoes are a common source of confusion because they sit near the acidity boundary. Ohio State's tomato guidance requires acidification for whole, crushed, or juiced tomatoes, whether the tested recipe uses boiling-water or pressure processing. Add the type and amount of acid specified in the recipe directly to each jar. Do not skip it because a tomato tastes tart or because a relative canned the same variety differently.
Salsa is not simply tomatoes in a jar. Onions, peppers, garlic, corn, beans, and other low-acid ingredients change the product. A tested salsa recipe balances those ingredients with a specified acid and process. Do not increase the amount of low-acid vegetables, reduce vinegar or bottled lemon juice, or thicken the salsa before canning unless the tested recipe explicitly allows it. If you want a different texture or heat level, choose another tested recipe or make a refrigerator/freezer salsa.
Pickles and relishes also depend on a tested acid balance. Use vinegar with the acidity specified in the recipe, keep the produce-to-acid ratio, and do not dilute the brine. The fact that an uncanned pickle tastes sour does not verify that the entire jar has the acidity and process needed for shelf storage.
Mixed dishes are another place to pause. Family vegetable soup, pasta sauce, pureed squash, pumpkin butter, pesto, dairy sauces, and thickened recipes may not have a home-canning process for the exact formula you want. Density and ingredient combinations affect how heat moves through a jar. Do not invent a time by choosing the longest ingredient process. Look for a tested version of the exact product; otherwise freeze or refrigerate it.
Process, Cool, Test, and Store Without Shortcuts
Once jars enter the canner, follow the tested sequence. In boiling-water canning, begin timing only when the water reaches the boil specified by the instructions, maintain the required boil, and keep the required water level above the jars. If boiling stops, follow the source's directions for restarting the process rather than guessing how much time to add.
For pressure canning, vent the canner for the full time specified before pressurizing. Begin timing only when the correct pressure is reached. Maintain pressure at or above the required level for the entire processing period. If pressure drops below the target, the safe response is generally to bring the canner back to pressure and restart the full processing time; confirm this in the tested directions. At the end, turn off the heat and let the canner depressurize naturally. Do not force-cool it, open the vent early, or pry the lid.
Place processed jars upright on a towel or rack with space between them. Leave them undisturbed for the cooling period specified by the recipe—commonly 12 to 24 hours. Do not tighten bands, press the lid centers, or turn jars upside down while they cool. After cooling, remove the bands and test each seal according to the source's directions. Label sealed jars with the food and date.
Store home-canned food in a clean, cool, dark, dry place. CDC advises that 50°F to 70°F supports best quality and warns against storage above 95°F, near heat sources, in an uninsulated attic, or in direct sunlight. Can only an amount you expect to use within a year unless the specific guidance says otherwise. A pantry shelf is not the place for a jar whose process, seal, or history is uncertain.
When a Jar Is Questionable, Stop and Discard It Safely
Botulinum toxin cannot be seen, smelled, or tasted. Never sample a jar to decide whether it is safe. The CDC's home-canning guidance is direct: when in doubt, throw it out.
Do not eat food from a leaking, bulging, swollen, cracked, or otherwise abnormal container. Reject a jar that spurts liquid or foam when opened, or food that is moldy, discolored, or smells bad. Visible spoilage is a reason to discard a jar, but the absence of visible spoilage does not prove that an untested or underprocessed food is safe.
If a jar fails to seal after the recommended cooling period, follow the tested source's time-sensitive reprocessing or refrigeration guidance. Reprocessing is not a license to improvise: the jar, lid, food condition, and full process still need to meet the approved directions. When you discover later that the wrong canner, time, pressure, jar size, acid amount, or recipe was used, do not put the jar on the shelf while you research it.
For a calmer Galion harvest season, keep one simple batch record: date, recipe source, food, jar size, pack style, number of jars, canner type, processing time, pressure when applicable, and any elevation adjustment. Store the record with the recipe. If you need supplies, Liberty Farm, Home & Garden can help you find practical kitchen and seasonal items, but the process itself should always come from USDA-aligned preservation guidance. A tidy record and a tested recipe are far more useful next August than trying to remember what “worked last year.”
Frequently Asked Questions
Keep Reading
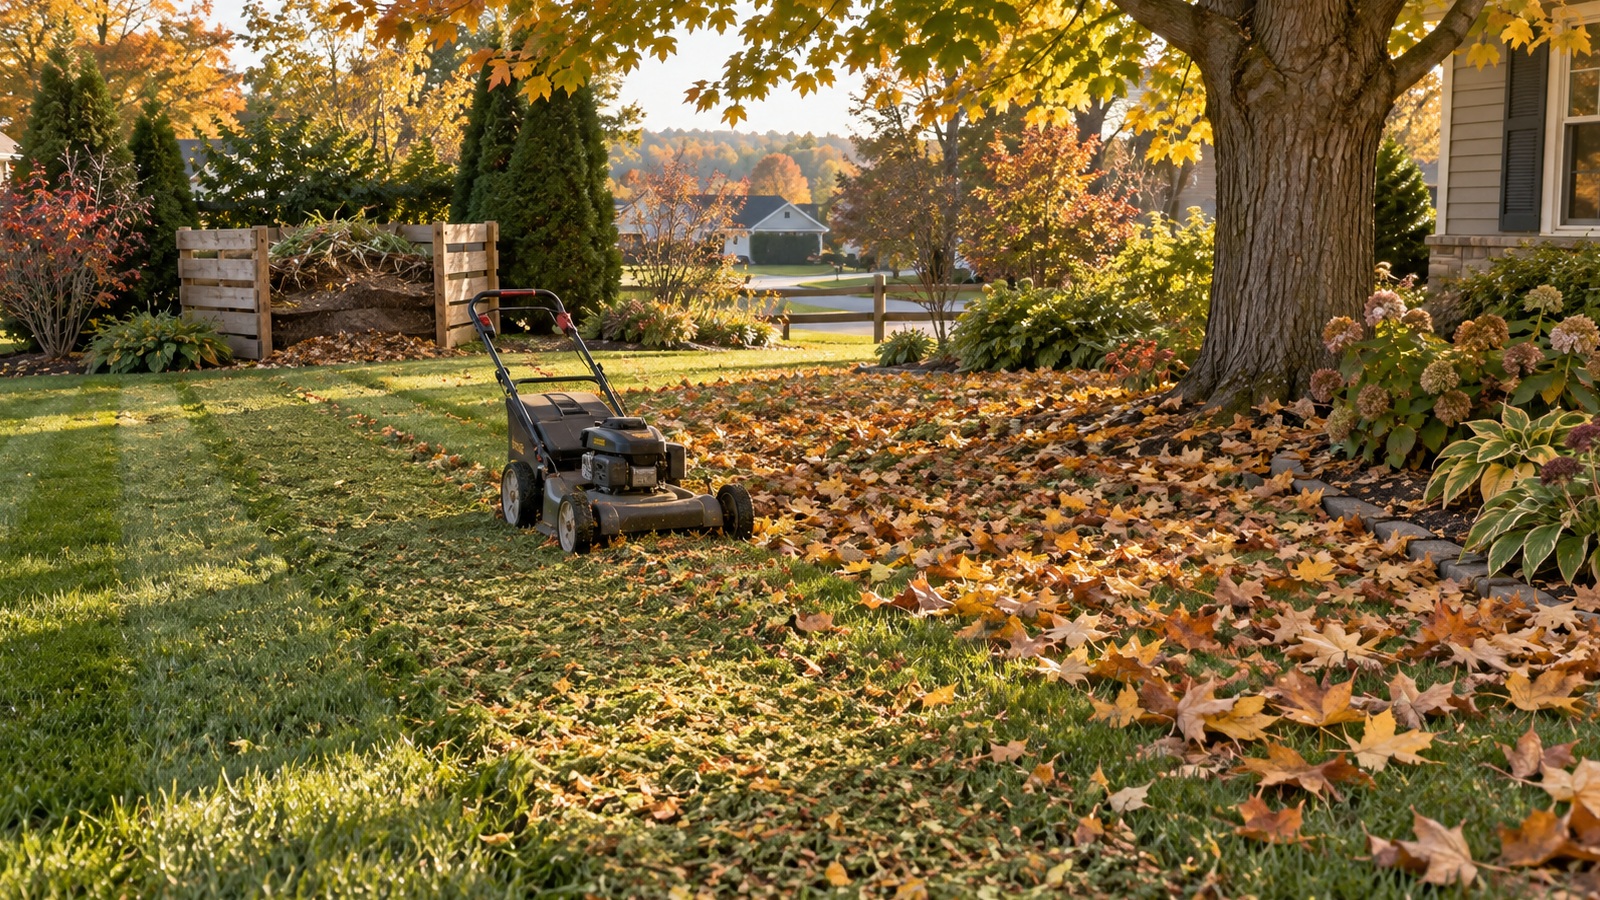
Don’t Bag Every Leaf: A Practical Ohio Fall Yard Plan
Make a practical Ohio fall leaf plan: mulch light layers into the lawn, save habitat in garden beds, compost the excess, and avoid common mistakes.
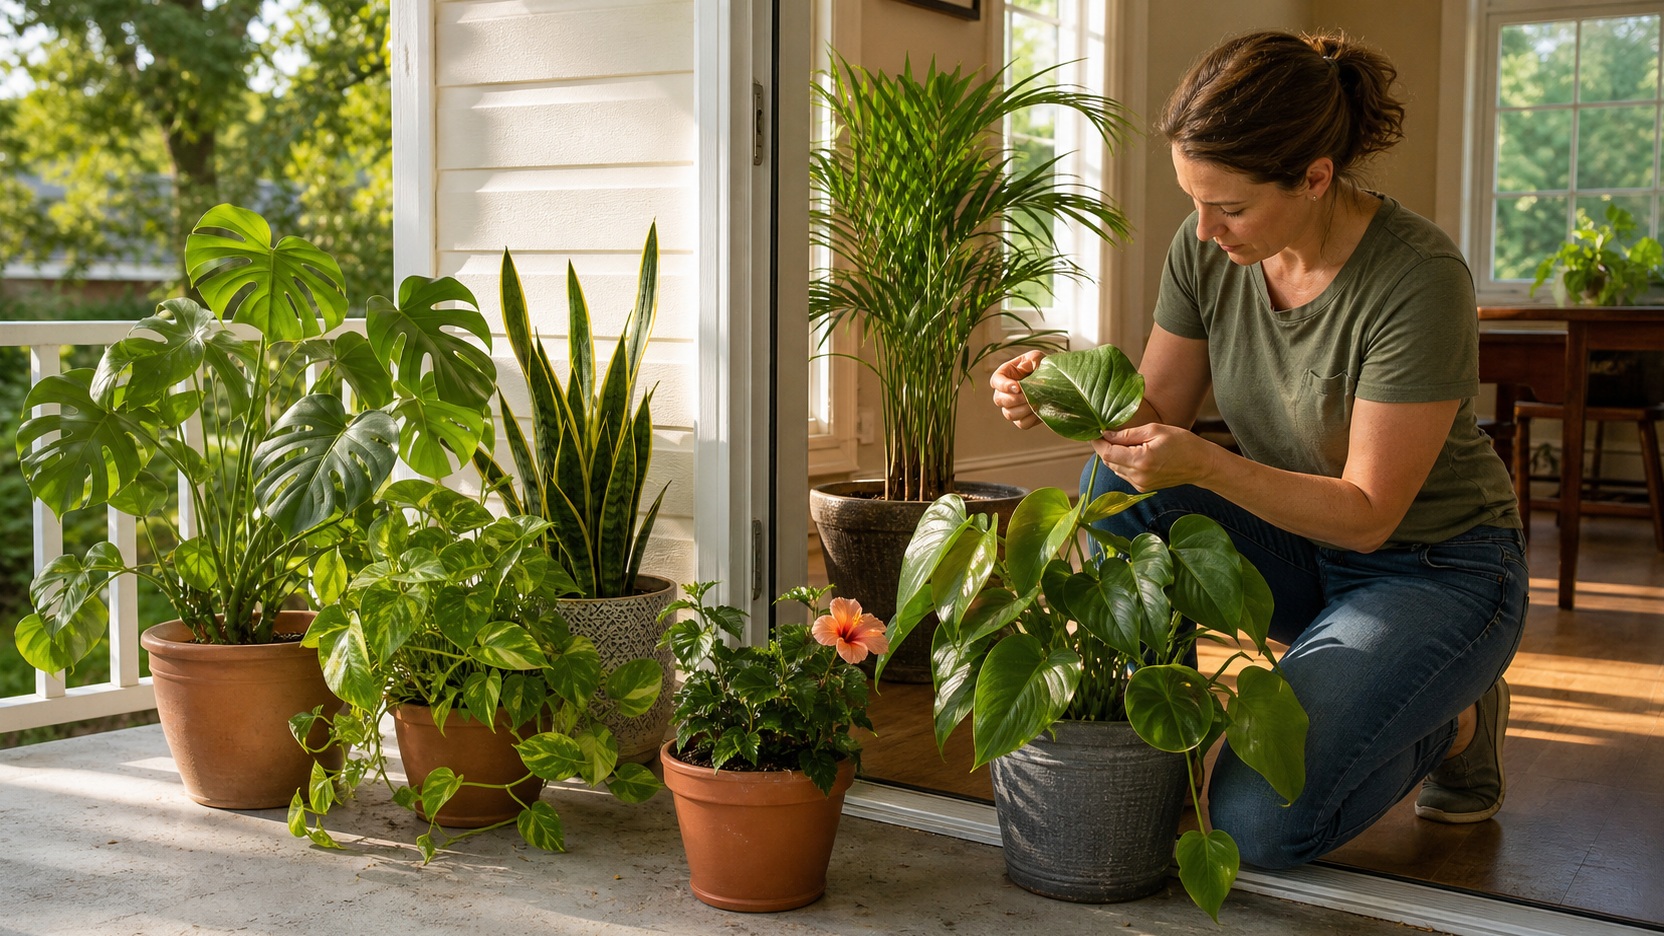
Bring Houseplants Indoors Before the Chill: An Ohio Fall Transition Guide
Learn when and how to bring houseplants indoors in Ohio, inspect for pests, acclimate light, reset watering, and avoid common fall mistakes.