
Bring Houseplants Indoors Before the Chill: An Ohio Fall Transition Guide
A practical late-summer plan for moving porch and patio houseplants indoors before cool Ohio nights—without bringing pests or preventable stress with them.
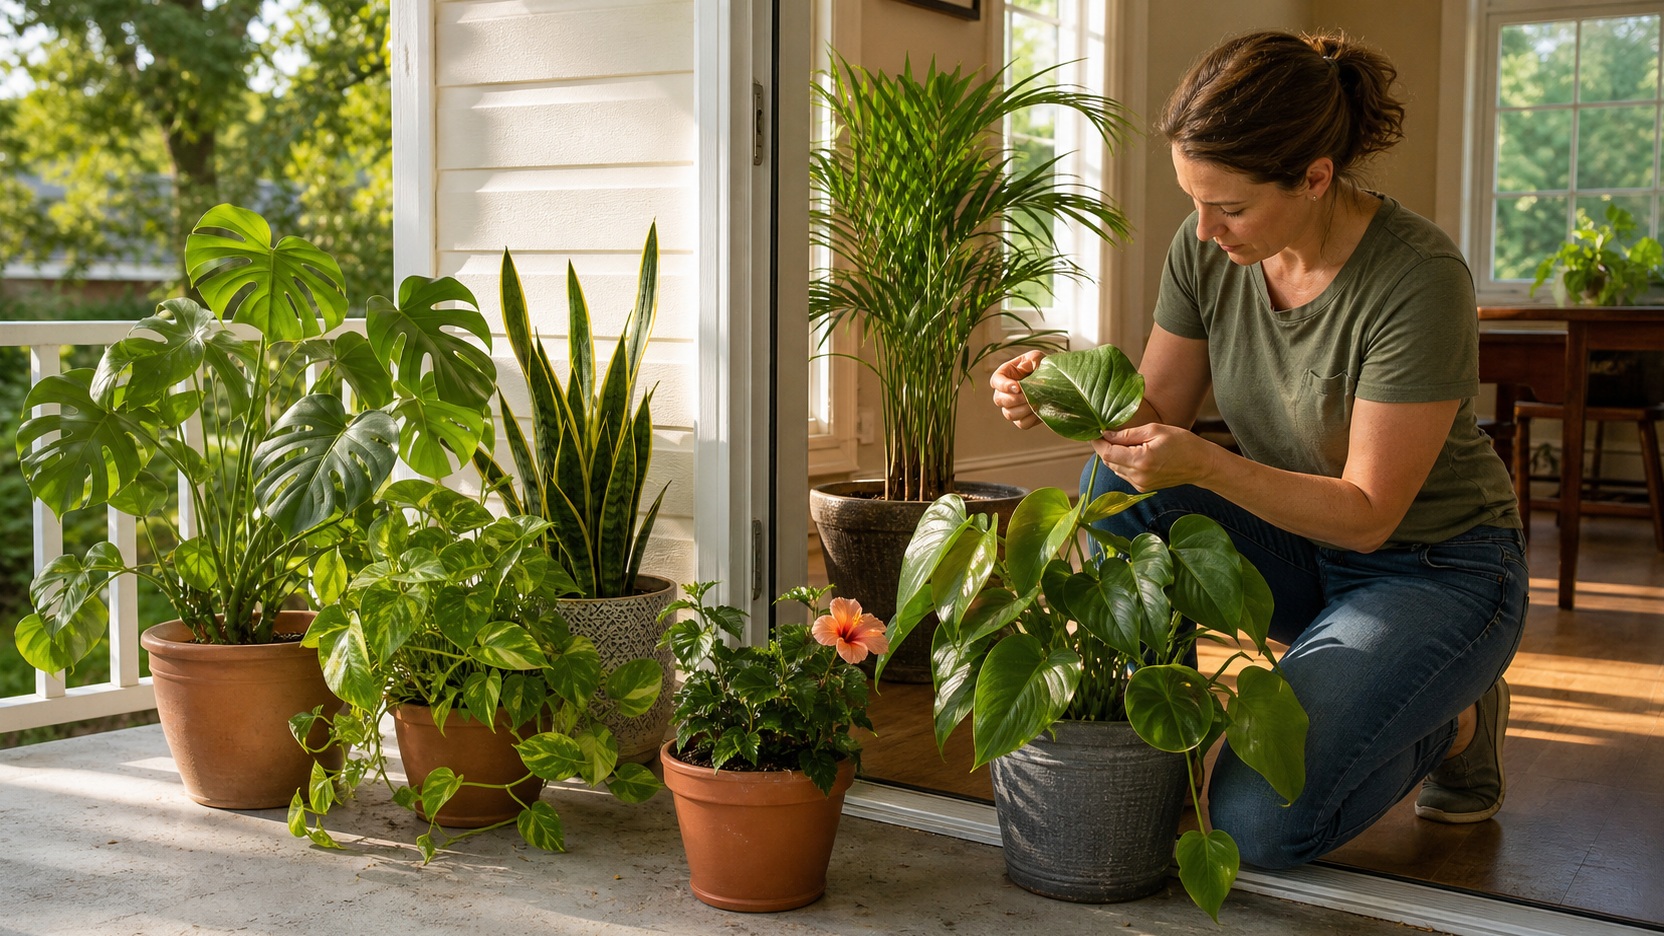
Late August in north-central Ohio can still feel like summer at noon, yet the nights are beginning to change. That is the useful signal for anyone whose houseplants spent the warm months on a porch, patio, or shaded step. The best move is not to wait for a frost warning and then carry everything inside at once. It is to make a calm transition plan while there is still time to inspect each pot, deal with hitchhiking pests, and help the plants adjust to indoor light.
This guide is for tropical foliage plants and other tender potted plants that normally live indoors. It is not a promise that every species responds to the same temperature or treatment. Plant identity, cold tolerance, health, and the conditions inside your home all matter. Use the steps below as a practical framework, check the forecast for your own Galion-area property, and give unusual or valuable plants species-specific care.
Start With Nighttime Temperatures, Not the Calendar
A calendar date can remind you to begin, but it cannot tell you when a tender plant is safe outdoors. Temperatures vary from one north-central Ohio yard to another, and a sheltered porch can stay warmer than an exposed deck. The University of Minnesota Extension notes that, depending on the species, temperatures below about 45–50°F can injure many houseplants. That is a planning threshold, not a universal cutoff. A truly tropical plant may object to cool nights before a tougher plant does.
Watch the overnight low, not only the pleasant daytime high. Once forecasts begin approaching the tolerance of your most sensitive plant, start the transition. Do not use the average first-frost date as permission to leave tender plants outside until the last possible night. Chilling injury can happen above freezing, and frost dates describe probability rather than a guarantee for one address.
A good late-August first step is to identify what you have and sort it into three groups:
- Bring in early: cold-sensitive tropicals, plants already stressed, and anything difficult to replace.
- Transition gradually: healthy foliage plants that can spend part of each day indoors while nights remain mild.
- Handle separately: plants with visible insects, sticky residue, webbing, leaf spotting, or unexplained decline.
If you do not know the plant, use a reputable plant-identification resource or ask a knowledgeable grower before applying a temperature rule. The goal is not to race the weather. It is to avoid making cold exposure, pest treatment, repotting, pruning, and a major light change happen on the same stressful day.
Make an Indoor Space Plan Before You Lift a Pot
Outdoor summer growth can make a plant much larger than you remember. Measure the available indoor space, look at the path through the doorway, and check whether the intended spot actually offers suitable light. A pot that fits on the porch may block a heat register, touch a cold window, or crowd three other plants once it comes inside.
Choose a temporary inspection and transition area that is easy to clean and, when possible, separated from your established indoor plant collection. A utility room, bright spare room, or washable area near a suitable window may work better than immediately placing every pot in the living room. Keep plants away from pets and children while you are inspecting or treating them, especially if any pesticide product will be used.
This is also the moment to decide what is worth carrying through winter. A healthy plant with a realistic indoor location is an easy yes. A sprawling annual may be better represented by a few clean cuttings. A severely infested or badly declining plant may cost more time and risk than it is worth. The University of Minnesota specifically notes that geraniums, coleus, begonias, and impatiens can be propagated from cuttings for the next season. Propagation requirements still vary, so use species-specific instructions and clean tools.
Prepare a simple work kit before you begin: gloves, a bright flashlight, a white sheet of paper, clean pruners, a soft cloth, a container for discarded leaves, and labels for plants whose identity or treatment you need to track. Put saucers under pots only after confirming that drainage water will not be left standing. Planning the landing spot first prevents the familiar last-minute shuffle in which plants are crowded wherever they happen to fit.
Inspect Every Plant From New Growth to Drainage Hole
A quick glance across the top of the plant is not enough. Many common indoor-plant pests shelter on leaf undersides, at stem joints, in folded new growth, along the pot rim, or near drainage holes. Work one plant at a time in strong light. Hold a white sheet beneath the foliage and gently tap or brush a branch; tiny moving specks are easier to see against white.
Look for the pest itself and for clues:
- Fine webbing or pale stippling: possible spider-mite activity.
- White cottony clusters: possible mealybugs.
- Hard or soft bumps attached to stems or leaves: possible scale insects.
- Sticky residue or shiny leaves: honeydew from sap-feeding insects may be present.
- Small flies near damp potting mix: possible fungus gnats; larvae are associated with moist organic media.
- Distorted new growth, cast skins, or clusters of small insects: possible aphids or another sap feeder.
These signs help you decide what to investigate; they are not a diagnosis by themselves. Edema, mineral residue, dust, sunscald, watering problems, and disease can resemble insect damage. The University of Minnesota Extension emphasizes that early detection is central to managing indoor-plant insects and recommends checking leaves, stems, and soil regularly.
Inspect the pot, too. Remove dead leaves resting on the mix. Look under the saucer and around the drainage hole for slugs, millipedes, ants, earwigs, or other outdoor residents. Check whether the drainage hole is open and whether roots are circling densely. Keep a questionable plant out of direct contact with the rest of your collection. One deliberate inspection now is easier than finding a pest after the plants have been grouped together in warm indoor conditions.
Clean First, and Treat Only What You Identify
Begin with the least disruptive steps. Remove fallen material and badly damaged leaves with clean pruners. Wipe sturdy leaves with a damp cloth or rinse the plant gently where the species tolerates it. Support the soil surface so the root ball does not wash out, let excess water drain, and avoid blasting delicate foliage. Physical removal, washing, and selective pruning can reduce a light pest population without immediately reaching for a pesticide.
If you find a pest, identify it before choosing a response. A treatment that works on an exposed soft-bodied insect may not control scale protected beneath a covering, and a product suitable for an outdoor ornamental may not be labeled for use on indoor houseplants. The University of Minnesota's indoor-plant pest guide describes nonchemical approaches and pest-specific options. It also stresses that the site and plant you want to treat must appear on the product label.
That label requirement is not a formality. The U.S. Environmental Protection Agency explains that pesticide labels are legally enforceable and define where, how, how much, and how often a product may be used. Read the entire current label before purchase and again before use. Follow ventilation, protective-equipment, reentry, disposal, and indoor-use directions exactly. Never improvise a stronger mixture, combine products unless the labels allow it, or assume that a familiar garden product is appropriate inside a home.
After cleaning or treatment, label the pot with the date and what you observed. Reinspect rather than assuming one pass settled the issue. If a plant remains heavily infested despite appropriate care, discarding it may be safer for the rest of the collection. Do not compost material treated with a pesticide unless the label and local rules permit that disposal method.
Repot Only When the Roots or Media Give You a Reason
Moving indoors does not automatically mean a plant needs a bigger pot. Repotting changes the root environment at the same time the plant is adapting to different light, temperature, and humidity. That can add stress without solving the real problem. Repot when you have evidence: a cracked container, failed drainage, roots packed densely around the root ball, contaminated or collapsed medium, or a plant that dries unusually fast because the pot is genuinely root-bound.
If repotting is necessary, use clean containers with working drainage holes and a fresh medium appropriate to the plant. Do not bring garden soil indoors in a pot simply because it looks rich. Garden soil can drain poorly in a container and may carry weeds, insects, or pathogens. The Minnesota Extension pest guide recommends new, sterile potting soil when potting indoor plants. “Sterile” in this context does not make the plant permanently pest-free; it reduces avoidable introductions from reused or outdoor soil.
Choose the next pot by the root ball, not by the size of the leaves. A dramatic jump to an oversized container leaves a large volume of wet medium around a modest root system, making moisture harder to manage. Preserve the original planting depth unless that species requires something different. After repotting, water enough to settle the medium and allow the container to drain fully; do not leave it standing in a full saucer.
If the plant is only top-heavy, a heavier outer cachepot or a stable plant stand may be more appropriate than disturbing healthy roots. Keep the growing pot's drainage independent of the decorative container, and empty collected water. Clean pots, sensible drainage, and restraint are more useful than an automatic “fresh soil for everything” rule.
Acclimate Plants to the Light They Will Actually Receive
Even a shaded porch is often brighter than the middle of a room. That difference is why an abrupt move indoors can lead to yellowing, wilting, leaf drop, or dieback even when no pest is present. The University of Minnesota recommends reintroducing plants gradually and initially placing them near strong indoor light before moving them to a less bright permanent location.
Make the change in stages when weather allows. You might move a plant indoors for the coolest part of the night, return it to protected outdoor light during the day, and then lengthen its indoor stay over several days. Another approach is to move outdoor plants into progressively deeper shade before the final move. The right method depends on the plant, the forecast, and the usable spaces you have. Never leave a cold-sensitive plant outside merely to complete a schedule.
Inside, match the plant to the window rather than treating every window as equal. South- and west-facing exposures can deliver strong light and heat; east windows often offer gentler morning sun; north windows are usually lower light. Buildings, trees, curtains, and season all change the result. Watch the plant's response and avoid letting foliage press against cold glass. Keep pots away from forced-air registers, radiators, and exterior-door drafts.
Some leaf loss can be an adjustment response, especially after a large change in light. It should still prompt observation. Check moisture, roots, insects, and the specific plant's needs instead of treating every yellow leaf with extra water or fertilizer. If natural light is inadequate, use a purpose-built grow light according to its instructions and the plant's light requirement. “Bright room” is a description for people; plants respond to the light that actually reaches their leaves.
Reset Watering and Fertilizer for Indoor Growth
An outdoor watering routine rarely transfers directly indoors. Wind, direct sun, warm temperatures, and active summer growth can dry a pot quickly outside. Indoors, lower light and reduced air movement often slow water use. Continuing the porch schedule can leave roots wet for too long.
The University of Missouri Extension's houseplant-care guide warns that no single watering schedule works for every plant because pot size, plant size, light, temperature, humidity, and other conditions all affect drying. Check the medium rather than watering because a certain weekday arrived. Learn the appropriate moisture range for the species, feel below the surface where practical, lift smaller pots to compare their weight, and water thoroughly when the plant actually needs it. Let excess water drain and empty water left beneath the pot.
Drainage is only half the equation. A pot with a hole can still sit in water inside a decorative cover. Roots need oxygen as well as moisture, and persistently saturated media can cause decline. On the other hand, do not use fear of overwatering as a reason to give tiny sips that wet only the top layer. When watering is due, moisten the root zone evenly, then allow drainage.
Fertilizer also needs a reset. A plant growing slowly in lower winter light does not necessarily need feeding. Missouri Extension advises that plants showing no new winter growth generally do not need fertilizer and that fertilizer cannot correct poor light or improper watering. Follow the plant and product directions, not a year-round habit. Never exceed the label rate, and do not fertilize a wilted or badly stressed plant in an attempt to force recovery.
Use a One-Week Transition Checklist
You do not need a laboratory or an elaborate treatment line. You need a repeatable order that keeps questionable plants from disappearing into the collection. The schedule below is an example; compress it when cold weather demands faster action and extend it when a plant needs more observation.
| When | Task | What success looks like |
|---|---|---|
| Day 1 | Identify plants, check forecast, choose indoor locations | Sensitive plants and suitable landing spaces are known |
| Day 2 | Inspect leaves, stems, pot rims, soil surface, and drainage holes | Each plant is marked clear, questionable, or infested |
| Day 3 | Remove debris, clean foliage where appropriate, prune only what is needed | Plants are clean enough for a second close inspection |
| Day 4 | Use an identified, label-directed treatment only if needed | Treatment and date are recorded; no guesswork is involved |
| Days 5–7 | Shift plants toward their indoor light and watering routine | No plant is left outside below its safe temperature |
| Following weeks | Reinspect regularly and keep questionable plants separated | New pest signs or adjustment problems are caught early |
Keep brief notes for valuable plants: where they spent summer, when they moved, what you found, and how quickly the medium dries indoors. Those notes become a better guide next fall than memory alone. They also help distinguish a recurring cultural problem from a one-time pest introduction.
For Galion households, the practical takeaway is simple: start while the days are comfortable, but make the decision from plant tolerance and the forecast. If you want help thinking through pot size, drainage, or basic transition supplies, the team at Liberty Farm, Home & Garden can help you narrow the question before you buy anything. Current product availability should always be checked rather than assumed.
A careful transition protects more than the plants that spent summer outdoors. It protects the collection already inside. Give each pot its own inspection, make environmental changes gradually, and continue watching after moving day. That is the difference between merely carrying plants through a doorway and actually preparing them for an Ohio winter indoors.
Frequently Asked Questions
Keep Reading
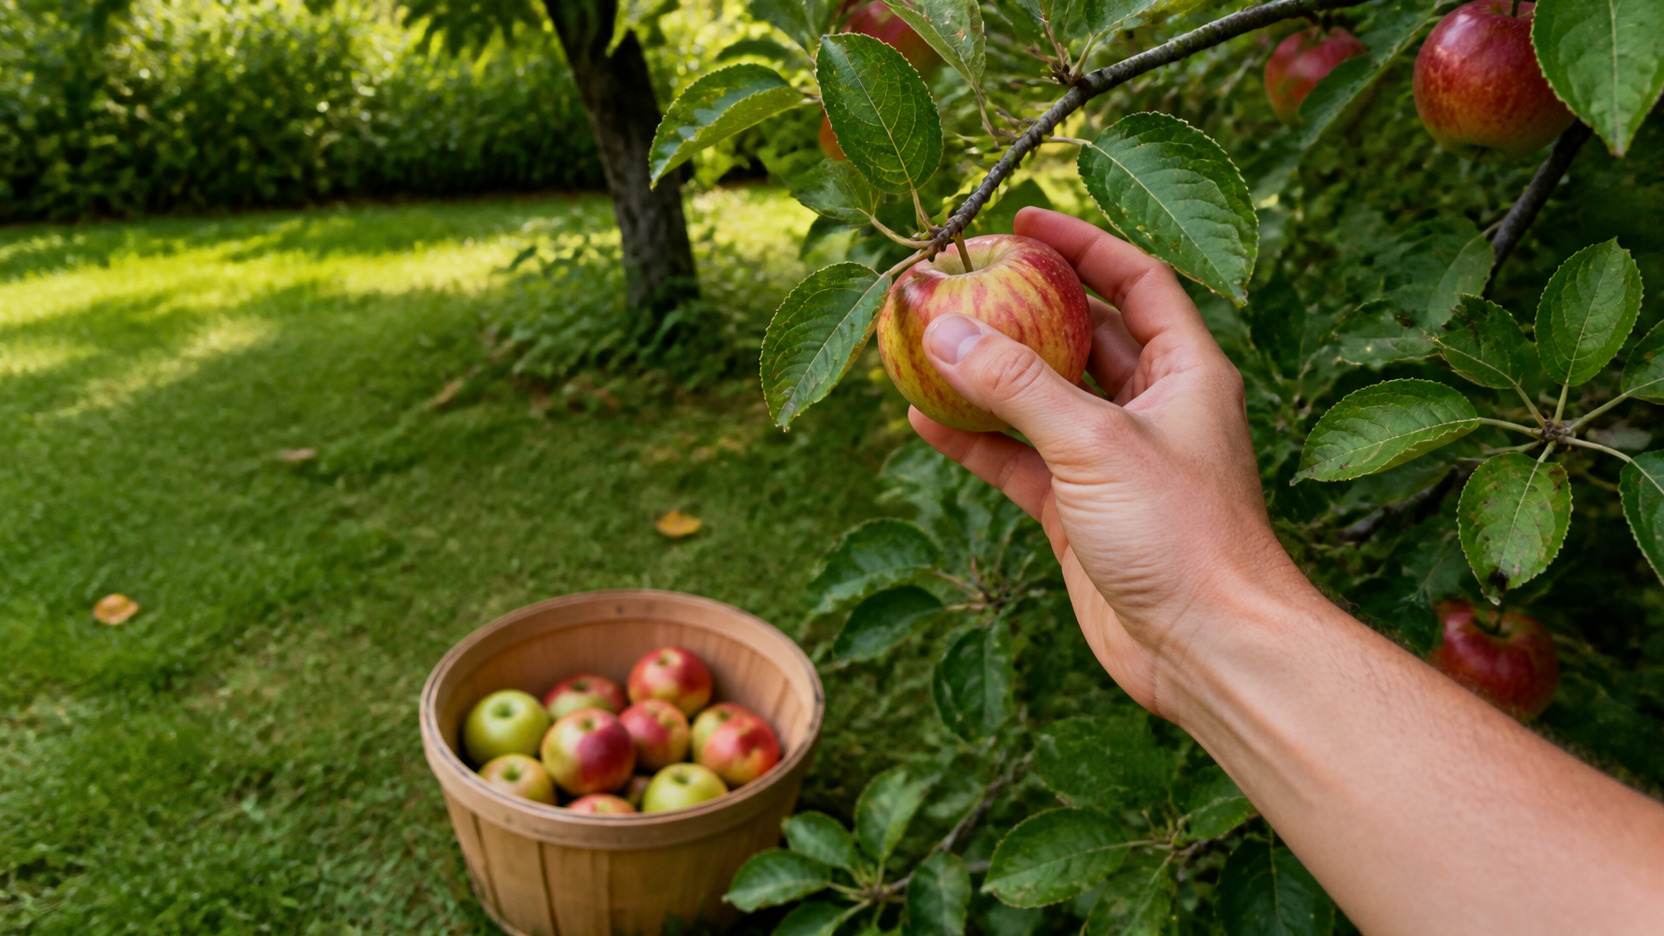
When Are Apples Ready? A North-Central Ohio Harvest and Storage Guide
Know when Ohio apples are ripe, how to pick them correctly, which fruit to store, and how to keep a backyard harvest crisp longer.
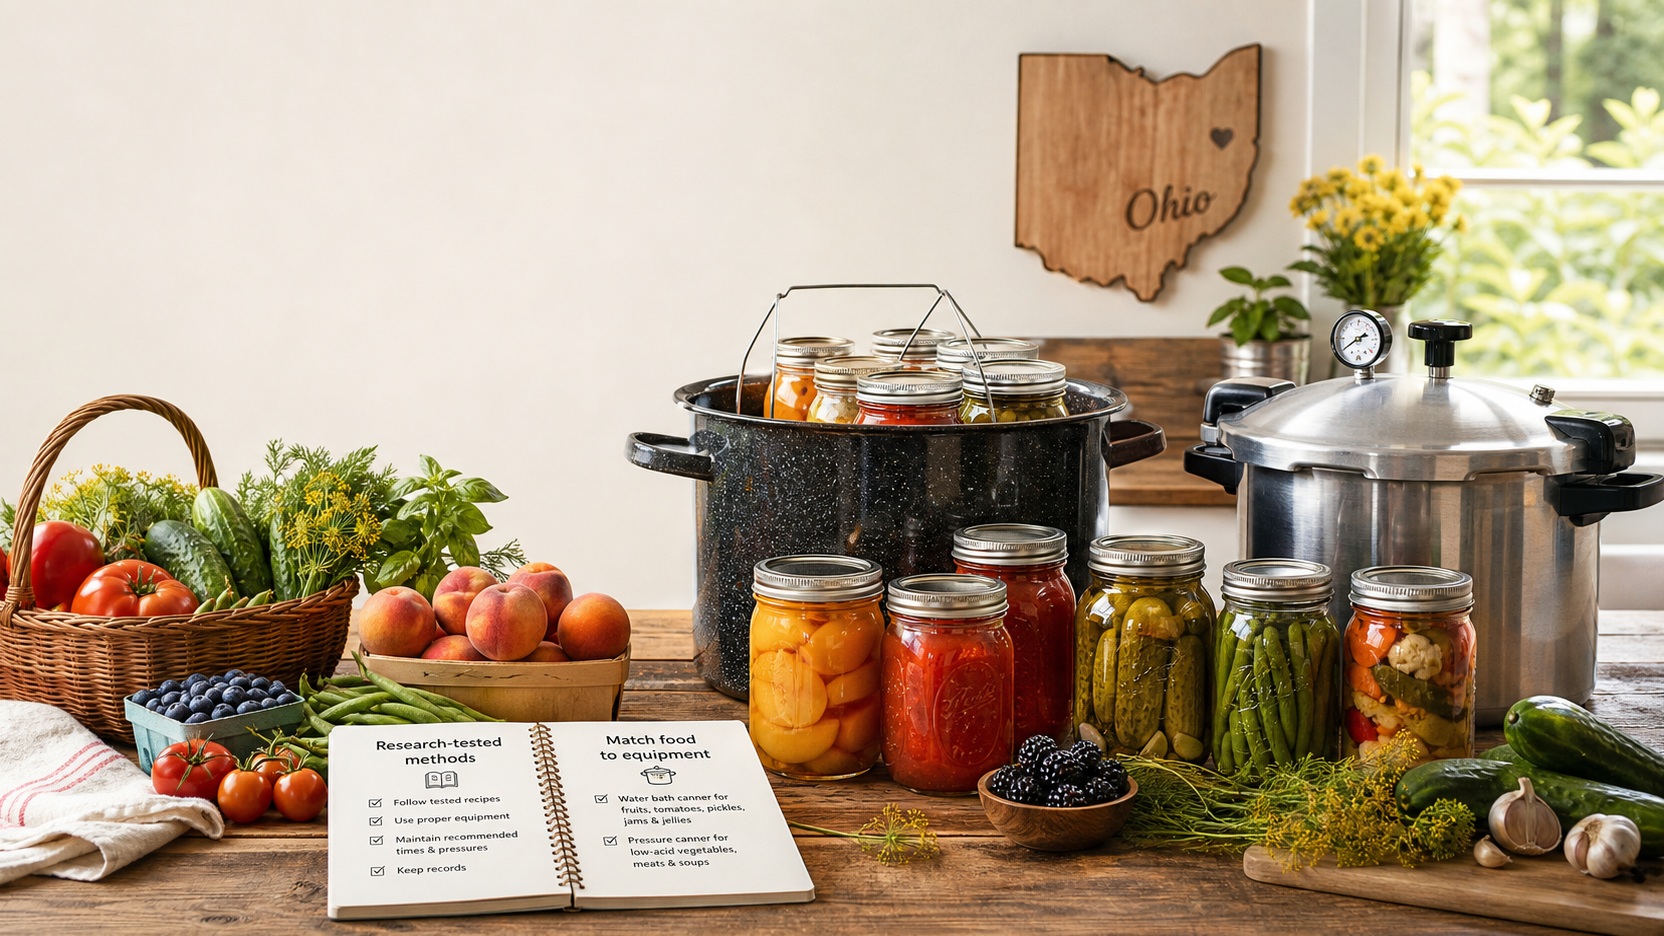
Home Canning in Ohio: A Safe August Guide for Garden Harvests
Learn how to match Ohio garden produce with tested water-bath or pressure-canning methods, prepare equipment, check seals, and avoid unsafe shortcuts.