
Save This Summer’s Garden: A Practical Ohio Seed-Saving Guide
Learn which vegetable and flower seeds are worth saving, when to collect them, how to dry and label them, and how to store them for next year in north-central Ohio.
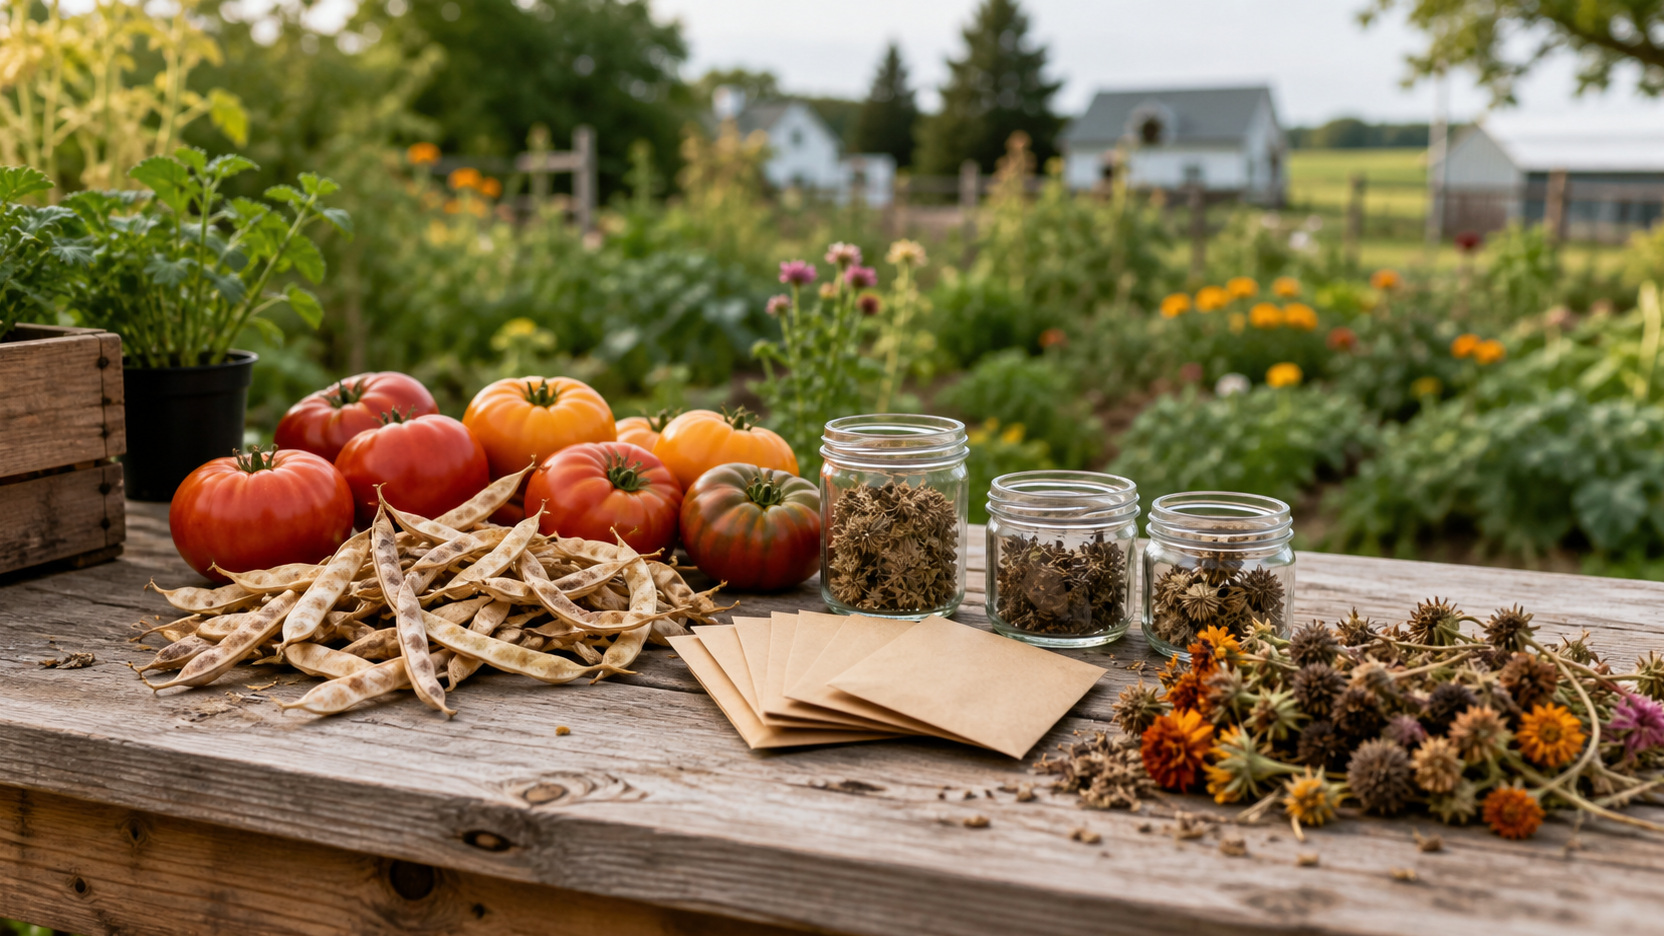
Start With the Right Seed: Open-Pollinated, Hybrid, and Cross-Pollinated
The most important decision happens before you pick anything: identify what kind of plant produced the seed. Open-pollinated varieties reproduce through ordinary pollination and, when kept from crossing with a different variety of the same species, generally produce plants similar to their parents. Heirlooms are open-pollinated varieties with a history, but not every open-pollinated variety is an heirloom.
Hybrid varieties are deliberate first-generation crosses, often marked F1 on a packet or plant tag. Their seeds can be viable, but the next generation may separate into a mix of traits. A tomato saved from a hybrid plant might grow, yet its fruit may differ in size, flavor, color, timing, or disease response. Saving hybrid seed can be an interesting experiment; it is not the dependable route when you want the same variety next year.
Pollination also matters. Beans, peas, tomatoes, peppers, and lettuce are commonly recommended for beginning seed savers because they are largely self-pollinating, though crossing is still possible. Corn and many vine crops are more challenging. Squash, pumpkins, cucumbers, and melons rely heavily on insects, and compatible varieties of the same species can cross. The fruit you eat this year will still look normal because it formed from the mother plant, but seed from that fruit may produce a surprise next season.
Use the original packet, plant tag, garden plan, or purchase record to confirm the variety. If you cannot tell whether a plant was open-pollinated or hybrid, label the saved seed as an experiment rather than assuming it will come true.
Choose Healthy, True-to-Type Plants
Good seed saving is selection, not cleanup. Choose plants that were healthy, vigorous, and typical of the variety. For a tomato described as round and dark red, save from a well-formed fruit that matches that description—not the oddly pale fruit that appeared on one stressed branch. For beans, choose pods from productive plants with the pod shape, color, and growth habit you want to repeat.
Do not save seed from a plant showing unexplained wilting, cankers, unusual leaf spots, mosaic patterns, or badly distorted growth. Some plant pathogens can travel on or in seed. The University of Minnesota Extension specifically warns that tomato bacterial canker can be seedborne and advises against saving seed from diseased plants. Home treatment methods are crop-specific and can reduce germination when performed incorrectly, so the safest beginner practice is to start with visibly healthy plants and purchase clean seed when disease is suspected.
Selection can also preserve traits that matter in your own garden. You might favor the bean plant that stayed productive in a windy row or the zinnia with a color you particularly enjoy. Keep the claim modest: one season does not prove a permanent local adaptation. Make a note, grow several plants next year, and observe whether the trait repeats.
If several plants of the same open-pollinated variety are available, collect from more than one. That gives you a broader sample than saving everything from a single exceptional plant. Avoid taking so much seed that you strip every flower head or pod from the garden; mature seeds remain food for birds and other wildlife, and a small envelope is usually more than enough for a home planting.
Harvest at Seed Maturity, Not Supper Maturity
A vegetable can be ready for the plate before its seed is ready for storage. Seed must complete its development on the plant or in fully mature fruit. The signs differ by crop, which is why one universal harvest rule does not work.
| Crop | When seed is mature | Beginner method |
|---|---|---|
| Beans and peas | Pods are brown, dry, and brittle; seeds are hard | Shell dry pods, remove damaged seed, and air-dry again |
| Tomatoes | Fruit is fully ripe | Ferment the seed and gel briefly, rinse, then dry thoroughly |
| Peppers | Fruit reaches full mature color | Remove seed carefully and spread it to dry |
| Lettuce | Flower heads form dry, fluffy seed clusters | Collect before wind scatters them; rub and screen away chaff |
| Marigolds and zinnias | Flower heads are brown and papery | Clip dry heads into a paper bag, then separate seed indoors |
For dry-seeded crops and flowers, choose a stretch of dry weather when possible. Clip pods or seed heads into a paper bag or open basket, not a sealed plastic bag that traps moisture. If rain is approaching and mature heads are beginning to shatter, collect them and finish drying in a warm, airy place out of direct weather.
Keep varieties separate from the moment they leave the plant. It is surprisingly easy to set two piles of brown bean pods on the same bench and forget which is which. One bag, one variety, one temporary label is a dependable rule. Write the name before moving to the next row.
Save Tomato Seeds With a Short Fermentation
Tomatoes are friendly to beginning seed savers, but their seeds are enclosed in a slippery gel. A brief fermentation helps separate that coating from good seed. Start with a fully ripe, true-to-type tomato from a healthy, preferably open-pollinated plant.
- Cut the tomato and squeeze or scoop the seeds and gel into a small clean jar. Add only a little water if the mixture is too thick to stir.
- Mark the jar with the variety. Leave it at room temperature for about two to three days, stirring or swirling occasionally. A film or mild odor may develop; do not let the batch sit forgotten for a week.
- Add water and stir. Sound, filled seed commonly settles while pulp and much of the light debris can be poured off. Repeat with clean water until the seed is reasonably clean.
- Drain through a fine sieve and spread the seeds in a single layer on a surface from which they can be removed. Coffee filters and some paper towels can hold seeds too tightly; a labeled plate, fine screen, or other nonstick drying surface is easier.
- Dry completely in a ventilated place away from direct heat. Stir or separate clumps during the first day so both sides can dry.
Fermentation is not a guarantee against seedborne disease. Do not use it as a way to rescue seed from a sick plant. If a favorite tomato showed suspicious symptoms, record the variety and buy fresh seed from a reputable source next season.
Keep batches small. One ripe tomato often supplies far more seed than a household needs, and a thin layer dries more reliably than a crowded tray. Once dry, the seeds should separate easily rather than bend or cling together with moisture.
Handle Beans, Peas, Lettuce, and Flowers the Dry Way
Dry-seeded crops are less messy than tomatoes because the seed matures in a pod or dry flower head. Leave bean and pea pods on the plant until they are tan or brown and the seeds inside are hard. If damp weather arrives just as the pods mature, pick them and continue drying under cover with good air movement. Shell them only after the pods are crisp enough to open readily.
Lettuce requires patience. A plant allowed to bolt sends up a branching flower stalk, and its seed heads mature over time rather than all at once. Collect when the heads are dry and fluffy but before wind carries the seed away. Rubbing the heads between your hands over a tray releases seed and chaff. A kitchen sieve or gentle winnowing can remove some light material, but perfect commercial-level cleaning is unnecessary for a small home batch.
For marigolds, zinnias, calendula, nasturtiums, and similar annual flowers, let selected blooms fade and dry on the plant. Penn State Extension recommends checking flower seed about two to three weeks after bloom, while recognizing that species mature differently. A finished head should feel dry and papery rather than cool, green, or pliable. Clip it into a paper bag and open it indoors over a tray.
Sunflower heads attract birds, so the timing is a negotiation. Allow the head and seed to mature, protect it with a breathable paper bag if needed, and move it to a dry protected place once the back of the head has yellowed or browned and the seeds are firm. Avoid sealed plastic around a damp head.
Do not assume every seed-shaped piece is filled. Discard insect-damaged, moldy, shriveled, or unusually light seed. A little chaff is harmless; trapped moisture is the bigger threat.
Dry Thoroughly, Label Clearly, and Store Cool
Moisture is the enemy of stored seed. After cleaning, spread seeds in a single layer and give them time. Thick seeds and newly shelled beans need longer than a dry marigold seed. Keep them out of humid sheds, hot cars, and direct sun. Air movement and patience are safer than baking them near a heater.
When the seeds are thoroughly dry, place each variety in a paper envelope or another labeled inner packet. Write the crop, variety, year, and any useful note such as the bed location or the parent plant you selected. Then place the packets in a clean, dry, pest-resistant outer container. A tightly closed jar can work only when the seed is already dry; sealing damp seed creates a mold chamber.
University extension guidance consistently favors a cool, dry, dark storage location. Stable indoor conditions are better than an unconditioned garage where late-summer heat gives way to winter temperature swings. Some gardeners refrigerate dry seed in an airtight container. If you do, let the closed container return to room temperature before opening it so humid room air does not condense on cold seed.
- Label before the seed leaves the drying tray.
- Keep saved seed away from pet food, livestock feed, and household chemicals.
- Do not mix old and new seed without preserving the harvest year.
- Check stored packets once during winter for moisture, insects, or damaged containers.
A compact box of well-labeled packets is more useful than a large jar of mystery seed. If the variety name is unknown, use a descriptive label such as “red cherry tomato—south fence—2026” rather than inventing a cultivar name.
Run a Simple Germination Check Before Spring Planting
Saved seed can look perfect and still germinate poorly. Age, incomplete maturity, excess heat, and moisture during storage all affect performance. A small germination test in late winter helps you decide whether to plant normally, sow more thickly, or replace the seed.
- Count a sample of ten seeds for a small household check, or more if you have plenty.
- Place them on a damp—not dripping—paper towel, fold it over, and put it in a loosely closed bag or covered container.
- Keep the sample at the normal warm indoor temperature appropriate for that crop and label it with the variety and start date.
- Check regularly, keeping the towel damp, and count normal sprouts over the crop’s expected germination period.
With ten seeds, each normal sprout represents roughly ten percentage points. Eight sprouts suggest about 80 percent germination in that small sample. Because ten seeds are not a laboratory-sized test, treat the result as a practical estimate rather than a guarantee. If only half sprout, you can sow more heavily or choose fresh seed.
The test also checks your labels and inventory before the busy planting season. If an envelope marked “yellow bean” produces something unexpected later, the lesson belongs in next year’s notes. Seed saving improves through records: what crossed, what stored well, what germinated, and what was worth repeating.
Do not conduct the test so early that you are tempted to pot up every sprout months before normal planting. The purpose is to assess the seed lot. Schedule it close enough to seed-starting time that any replacements can still be ordered and the strongest sprouts can be used if practical.
Make Seed Saving Part of a Thoughtful Fall Cleanup
Seed saving fits naturally into fall garden work because it asks you to observe before pulling everything out. Mark the healthiest plants while they are still recognizable. Collect mature seed on a dry afternoon. Remove diseased material from the garden rather than adding it to a casual seed pile, and write down the crop location while the row still exists.
This is also a good time to note what the soil and plants told you. If growth was consistently weak across a bed, do not assume a different seed packet will solve it. Ohio State University Extension’s 2025 soil-testing guidance explains that a laboratory soil test can identify pH and nutrient conditions and help avoid unnecessary fertilizer applications. Late summer or fall can be a practical time to plan that test for next year, provided the soil is not frozen or excessively wet and you follow the chosen lab’s sampling instructions.
Keep the first year manageable: perhaps one tomato, one bean, and two flowers. These give you wet-seed, dry-pod, and flower-head experience without demanding isolation cages or advanced pollination work. If a squash cross or volunteer flower sounds fun, save it as a labeled experiment—but purchase known seed for any crop where consistency matters.
Gardeners who need envelopes, jars, cleaning screens, or a second opinion on what they are seeing can visit Liberty Farm, Home & Garden in Galion; the useful part is the method, not a special kit. Plain paper, accurate labels, dry seed, and good notes do most of the work.
By winter, those envelopes will look modest. By spring, they will hold a record of what grew well, tasted good, or brightened the yard. That is the real value of saving seed: not merely spending less, but carrying an observed piece of one Ohio growing season into the next.
Frequently Asked Questions
Keep Reading
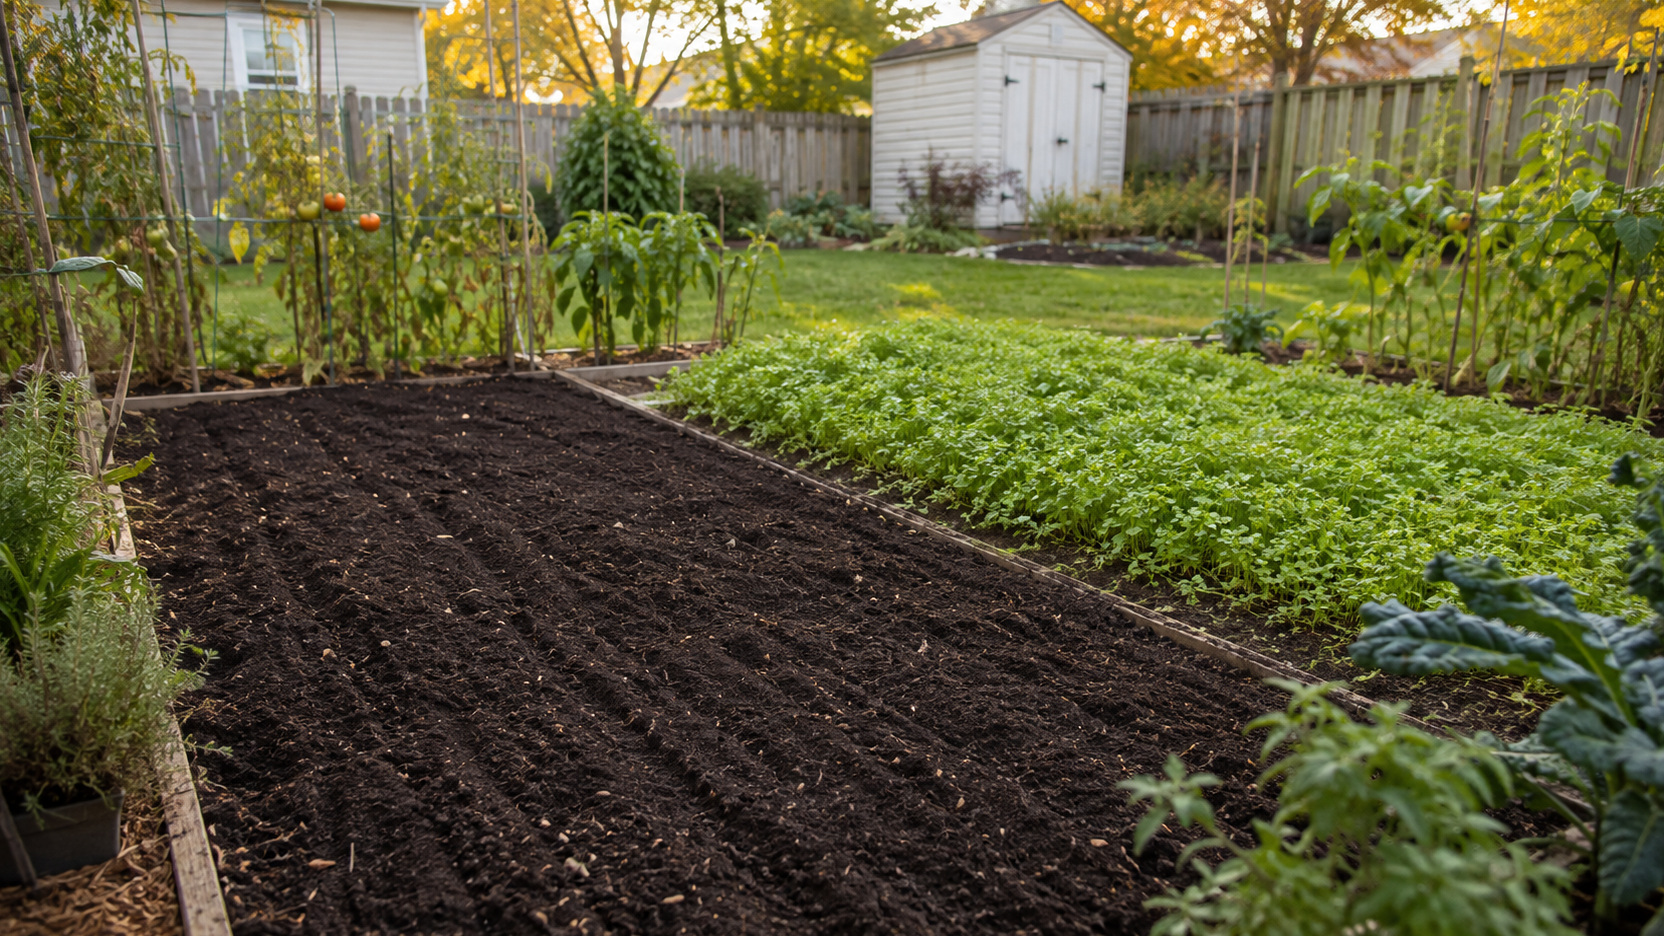
Plant Cover Crops Now: An Ohio Home Garden Guide
Plant fall cover crops in an Ohio vegetable garden with practical guidance on timing, species, seeding, winter care, and spring termination.
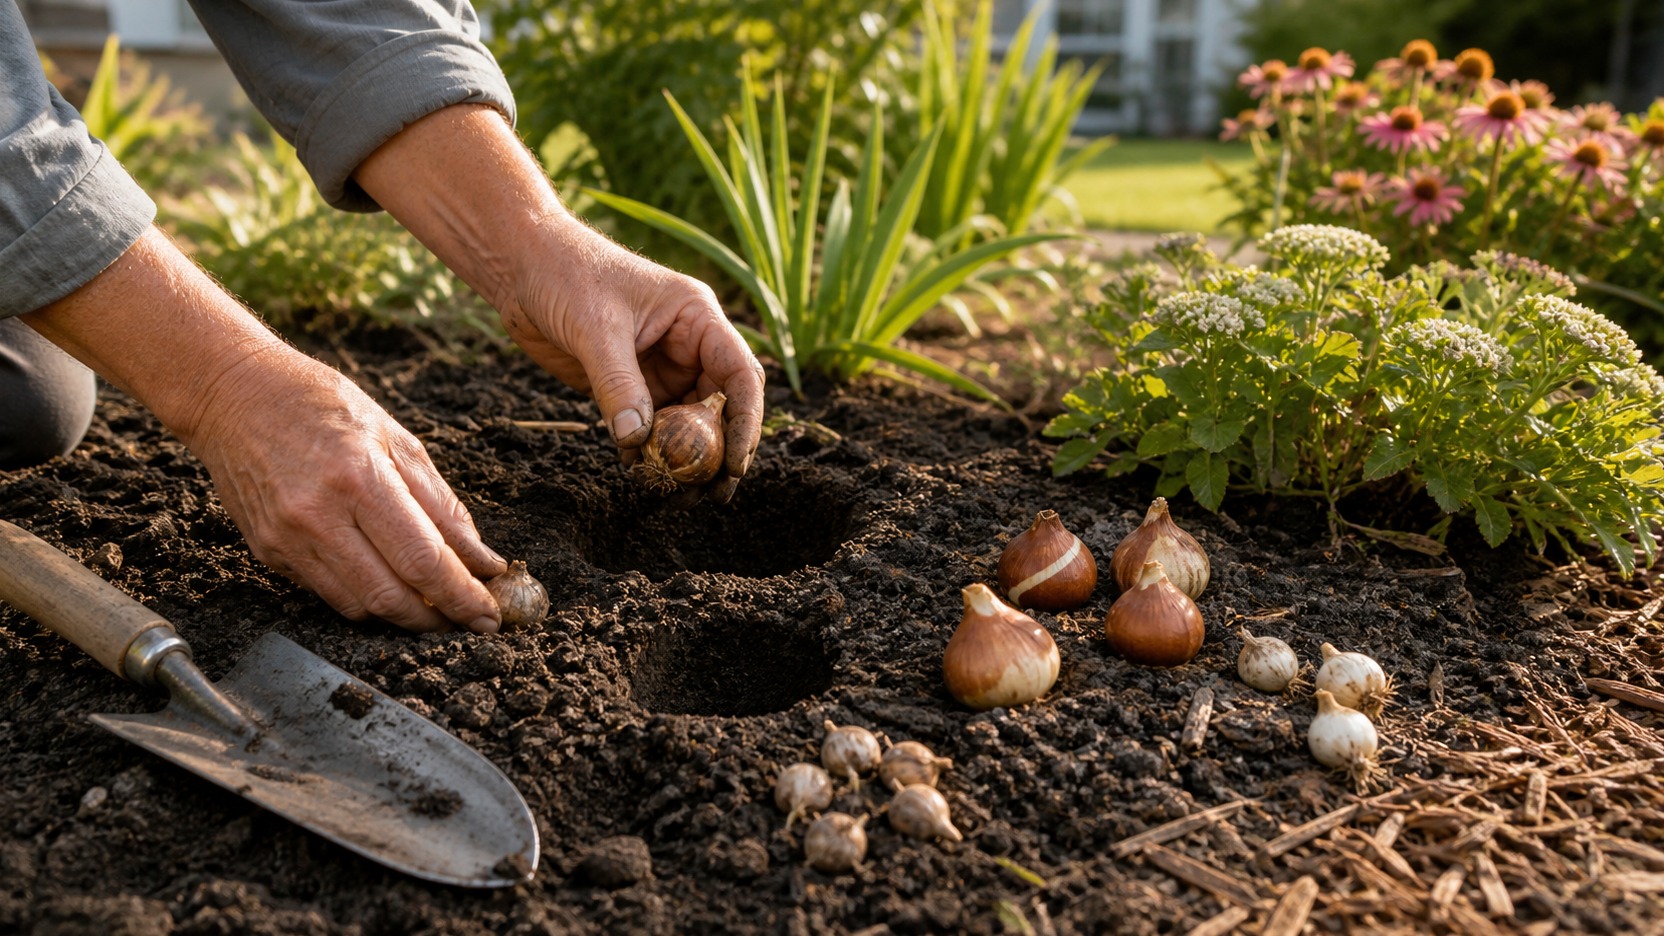
Spring Color Starts Now: An Ohio Guide to Planning and Planting Fall Bulbs
Learn when and how to plant tulips, daffodils, crocus, hyacinths, and alliums for reliable spring color in north-central Ohio.